When you start getting into woodworking, especially hand tool woodworking, you will need planes. You can find them everywhere. In your parent’s shed, tool shops, junk shops, antique shops, car boots, online auction sites…
By far and away the most common you will find is the Bailey pattern bench smoothing plane, also commonly known as the number 4. They have been made in vast numbers by many manufacturers for well over 150 years. I have several sitting around the shop at any one time. Let’s look at how I restore one. Or three.
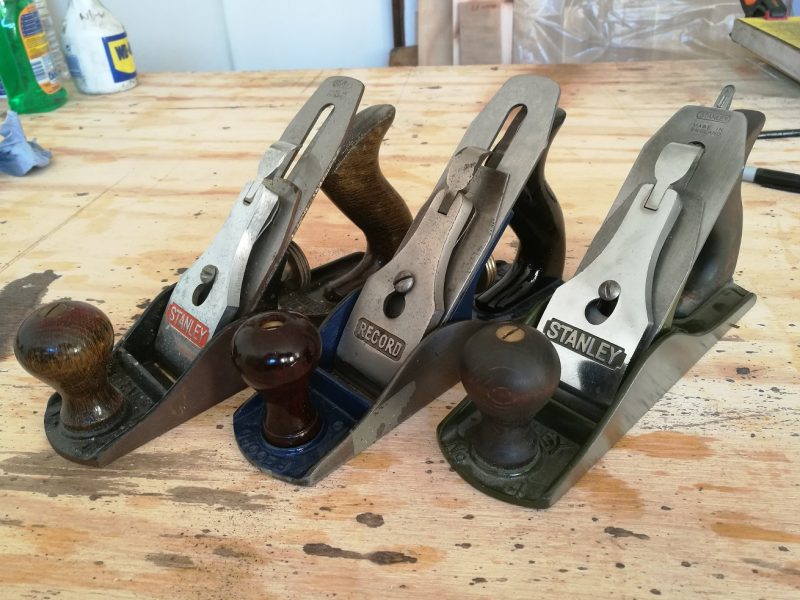
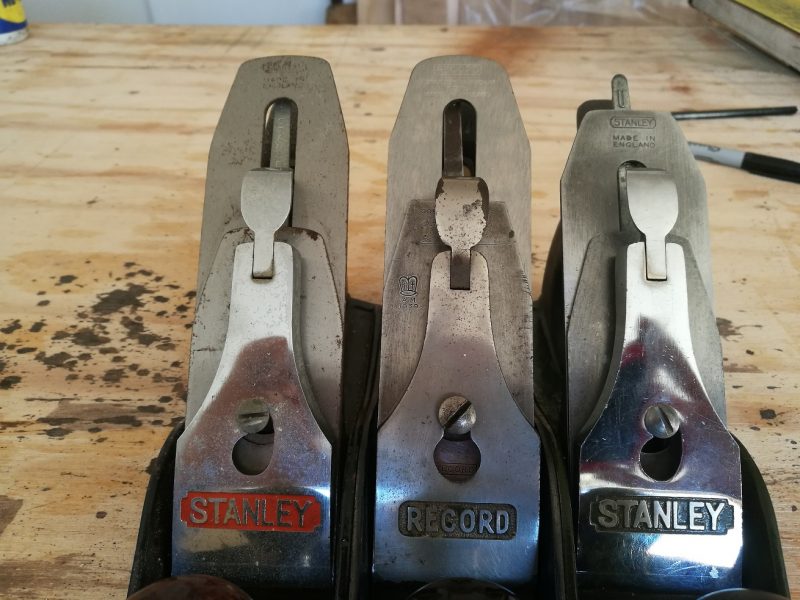
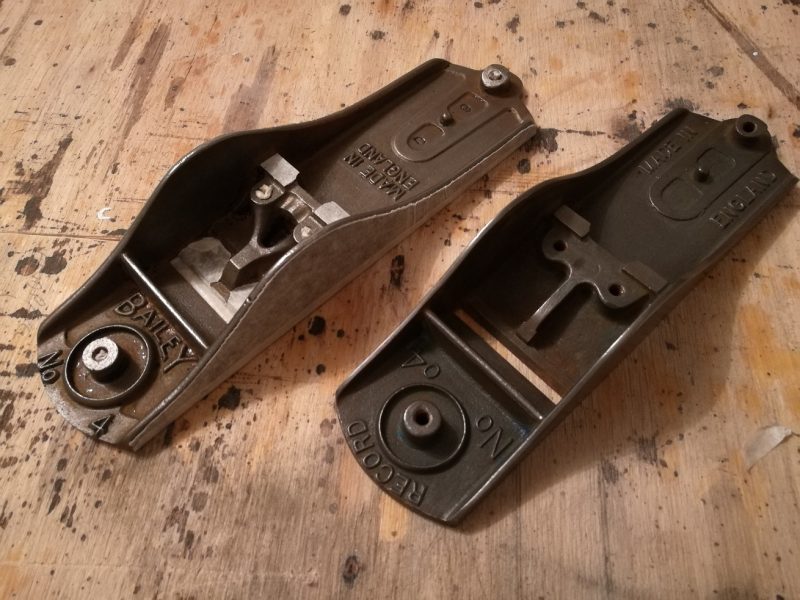
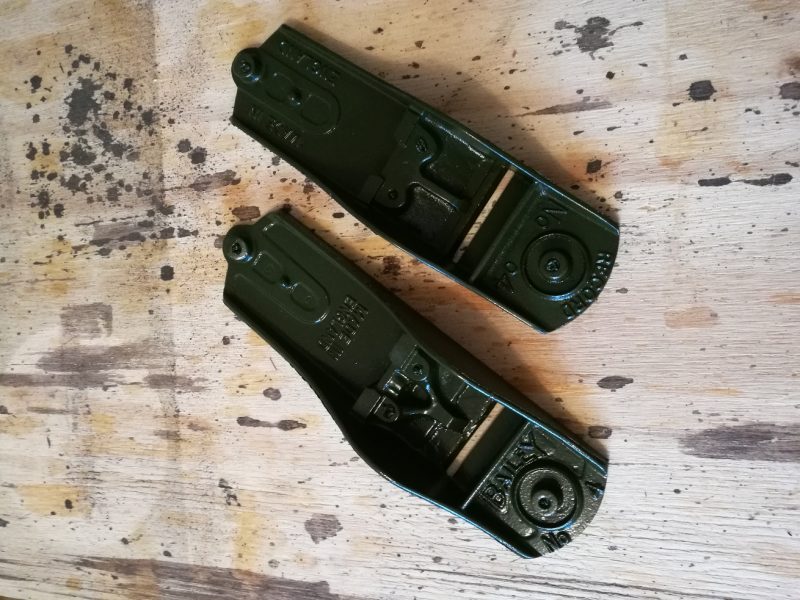
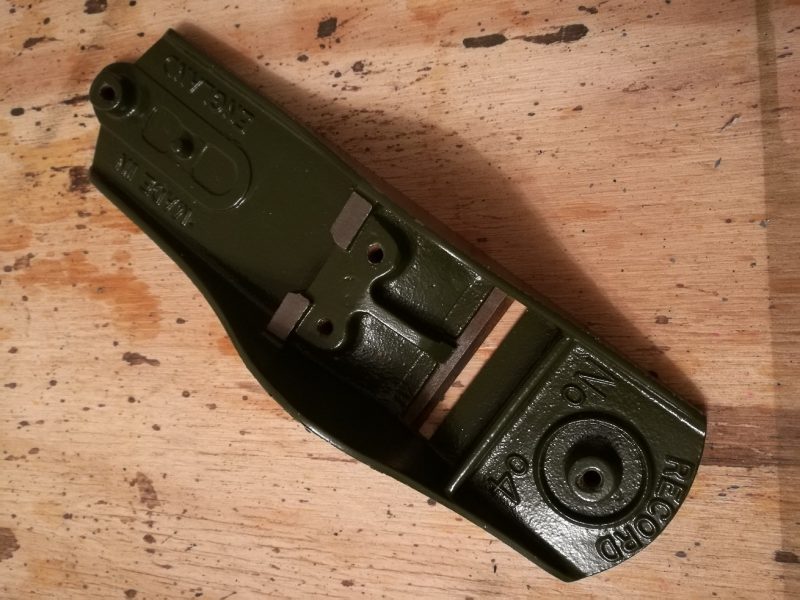
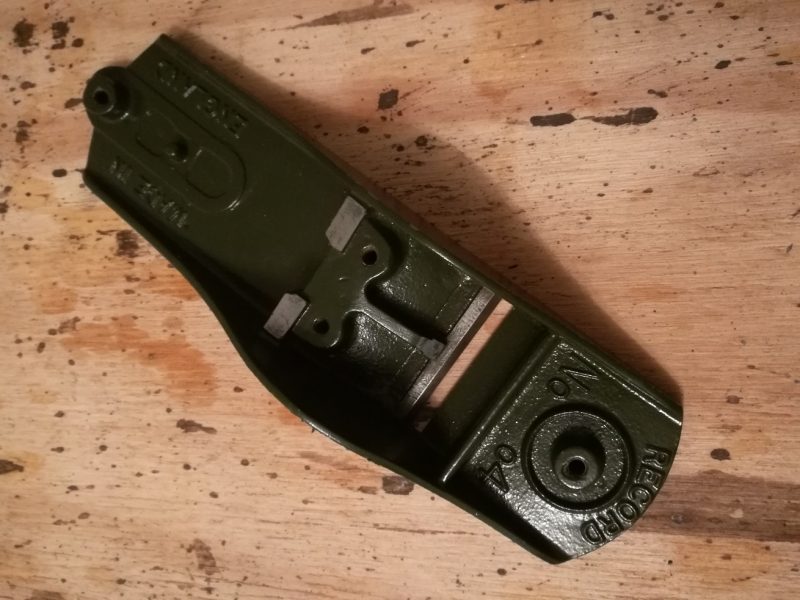
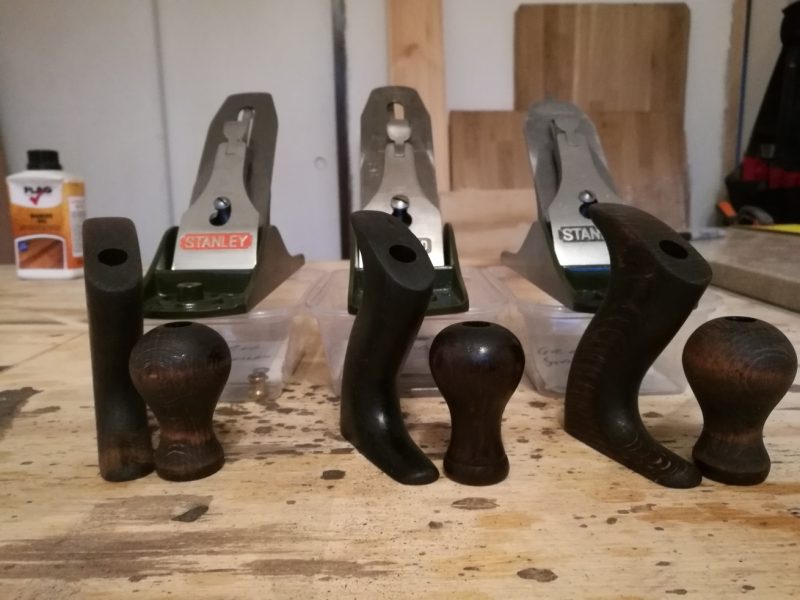
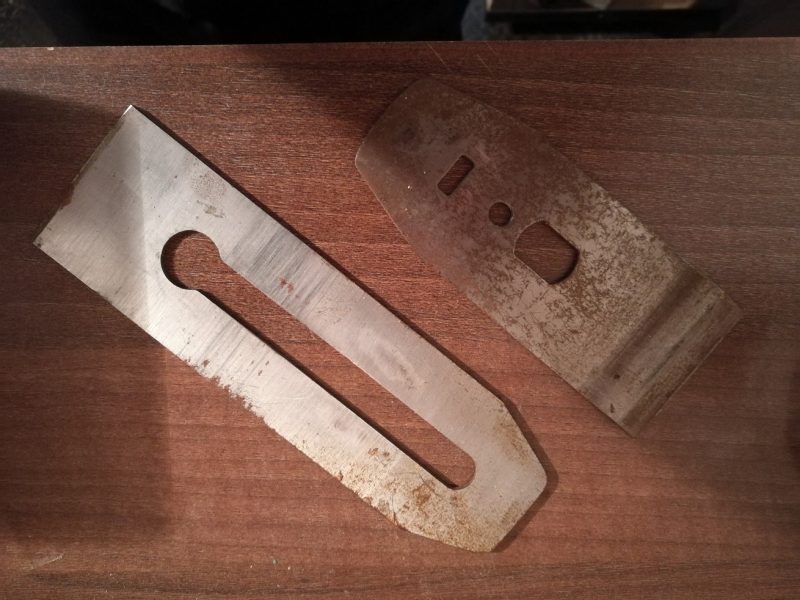
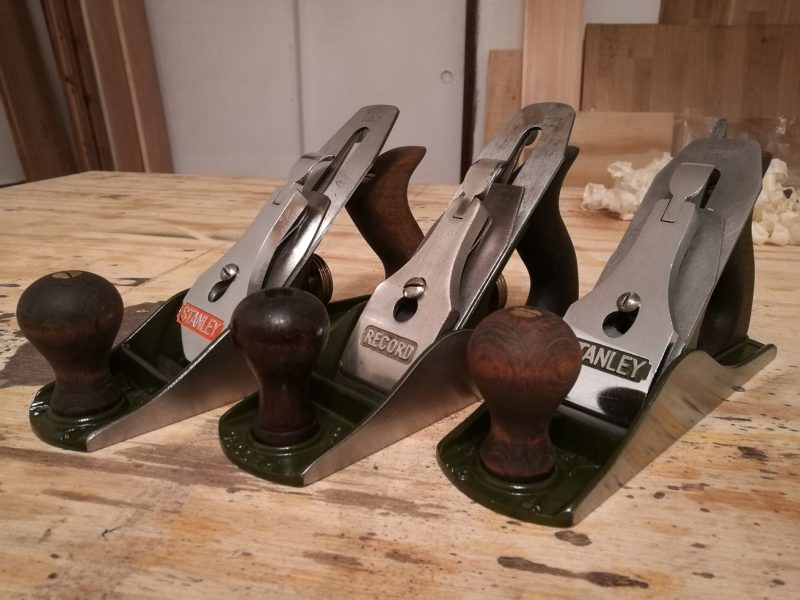
The planes on the left and right are 1970’s vintage Stanley Bailey number 4 smoothing planes. They are identical in every regard. The one on the left is in a condition typically of one left forgotten on a shelf in a shed for a few decades. The one on the right has been restored by me previously and has had light use over a period of just under a year. I will not be restoring it, but I will be dismantling it and giving it a touch up. The plane in the middle is by Record, one of Stanley’s main competitors. It is stamped 1939 so is a nice prewar example. I bought it from the online auction site and was described as fully restored and ready for use. We’ll get to that bit, but I want to make it clear that I didn’t pay any more for it than an unrestored version, and I’m only raising the point that it was described as fully restored to give you a comparison.
As you can see in the above pictures all are complete, and a quick glance shows them all in at least average condition.
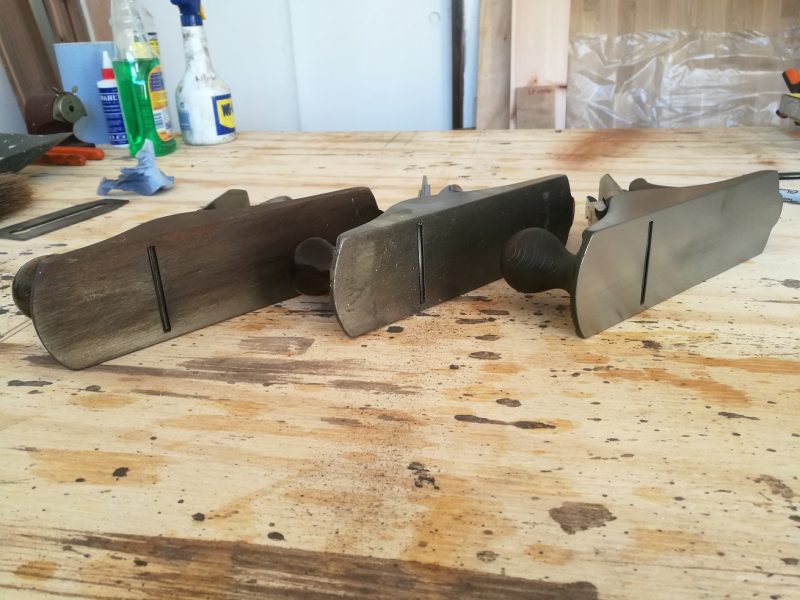
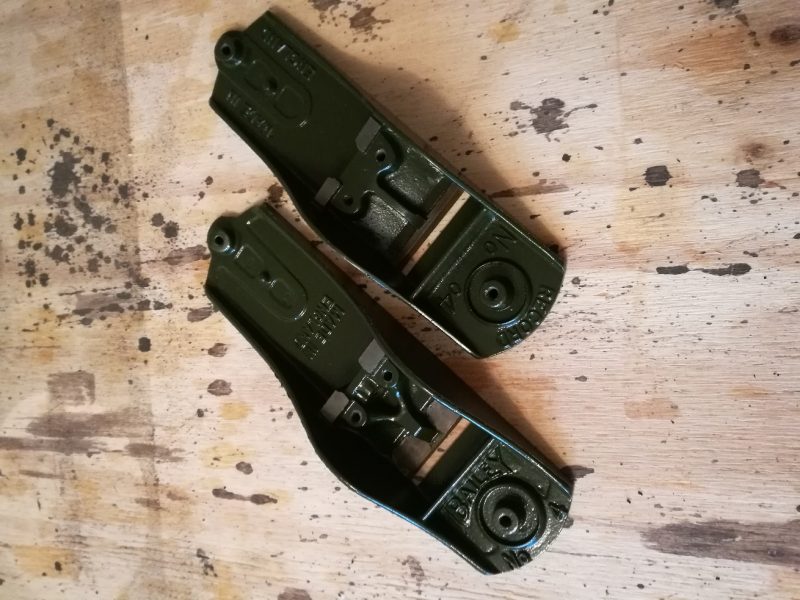
Looking at the soles shows a bit of a different story. The unrestored plane has surface rust over nearly the entire sole and sides of the body. This is due to a lack of use, and probably increased by being stored in cold or humid conditions. It isn’t serious and easily resolved, as you’ll see later.
The Record has no surface rust but is covered in the sticky residue from the tape the seller covered the plane in! It also had a thin layer of thick grease that collected lots of dust and woodchips. It has clearly been well used but not flattened as much as I like. This will take as much work to clean as the first Stanley.
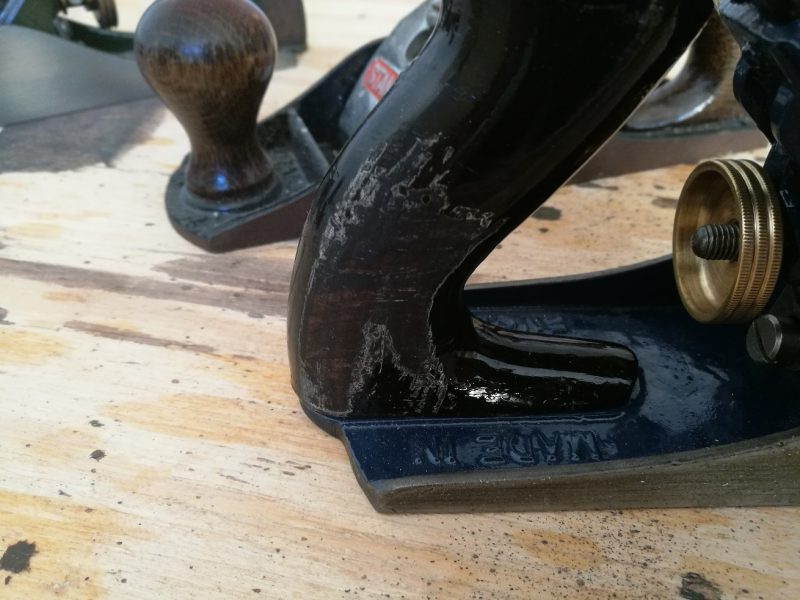
The restored Stanley shows a clean, flattened base. There is no rust because it has been used regularly and wiped with tool oil to keep and moisture at bay. One thing to note is that there is a hollow behind the mouth. This doesn’t affect the use or accuracy of the plane, so it wasn’t worth the several extra hours work to remove it.
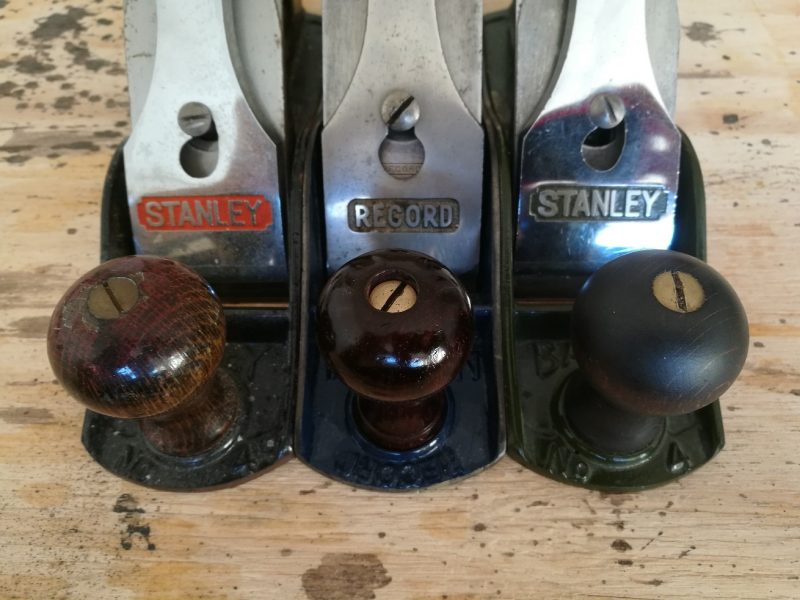
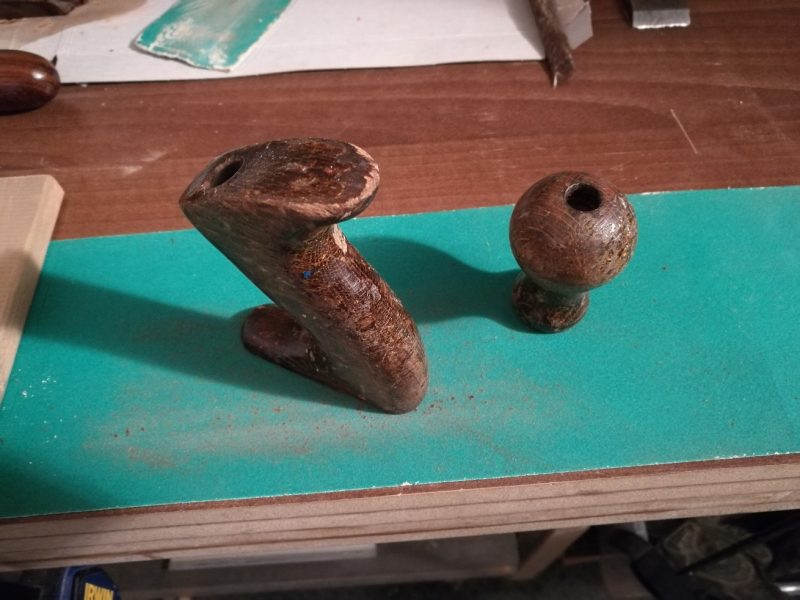
It’s a similar story with the front knobs. Unrestored and neglected, the lacquer on the wood cracks and falls away, leaving a rough surface. The Record has been sanded down and very thickly varnished, and for some reason the screw that holds the tote down sits far lower than it should which I will investigate later. My restored plane had been sanded, stained and oiled. I will refinish it when I do the others.
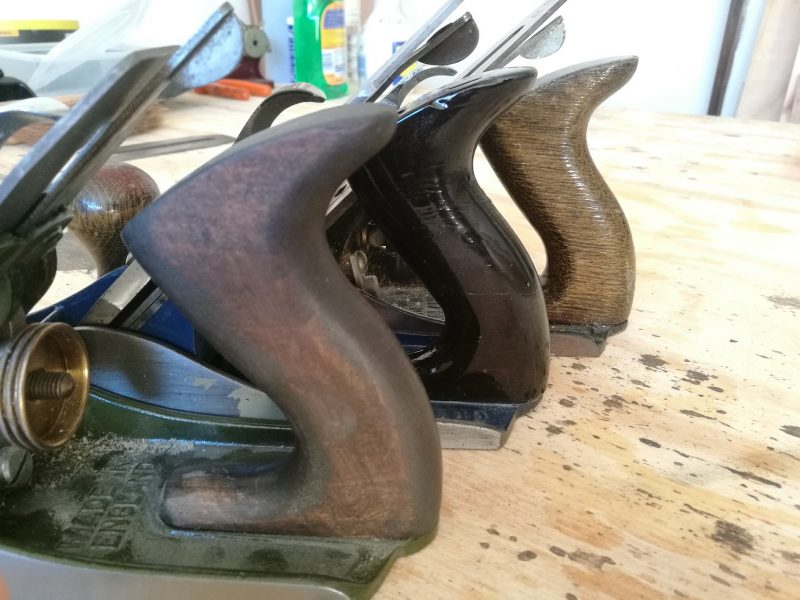
Here are the rear totes. They are in identical conditions to the front knobs. The Record tote has been broken at some point in the past but has been reglued to a very high standard. This is a common issue with many wooden handled bench planes and can usually be repaired easily, or a new one bought or made.
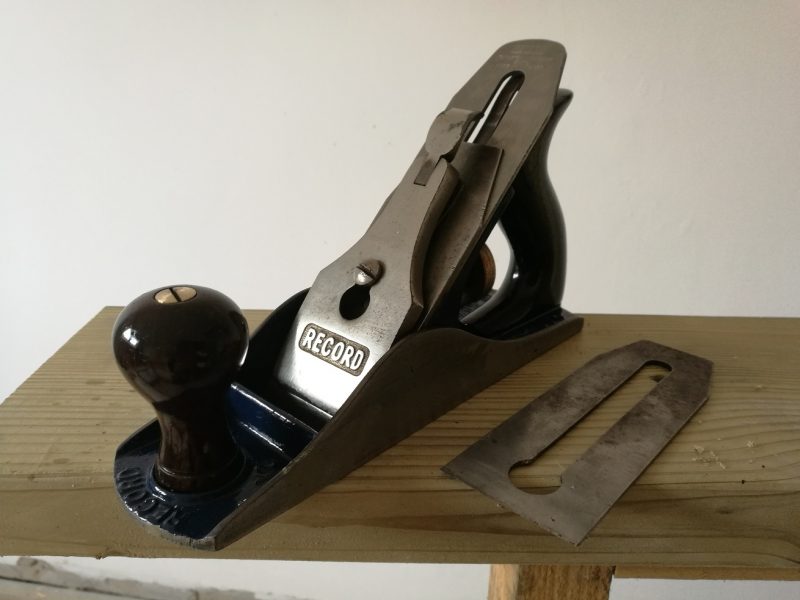
The lever caps are all in good condition. The Record has lost a bit of plating and has a tiny chip missing from one corner that won’t affect it’s use. Looking at the irons, the restored Stanley has been well used but has many years of use left. Both the unrestored Stanley and Record have new irons, the Stanley looks like it has been used once or twice and has never been sharpened. The Record has a new old stock iron which was supplied by the seller, as the original iron was so used it had worn right down! I can only imagine how much use this plane has gone through to completely wear away an iron. Check it out in the picture below:
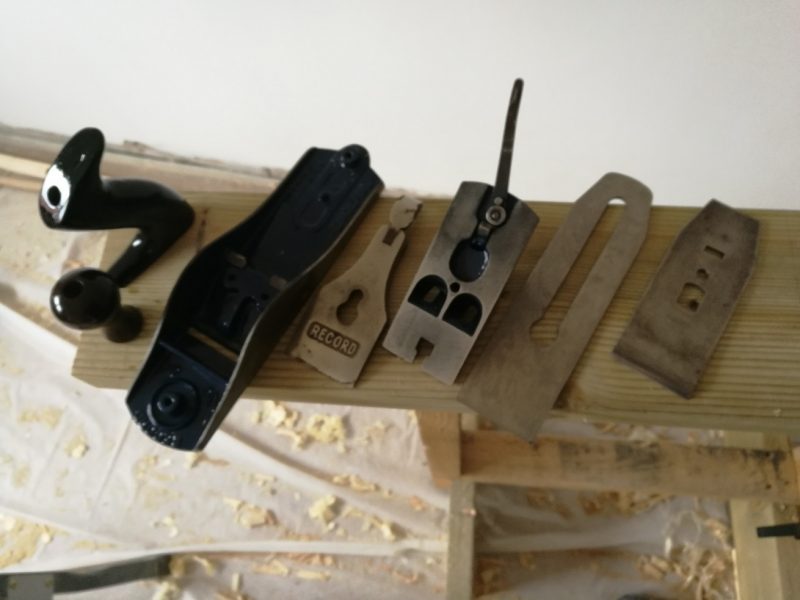
Next came time to strip each plane down. This can be entirely accomplished with a flat bladed screwdriver and possibly a bit of lubricating spray to ease any seized parts. I made sure to keep every plane separate so nothing would get mixed up when it came time to rebuild them. Of course, there had to be a little surprise in one of them:
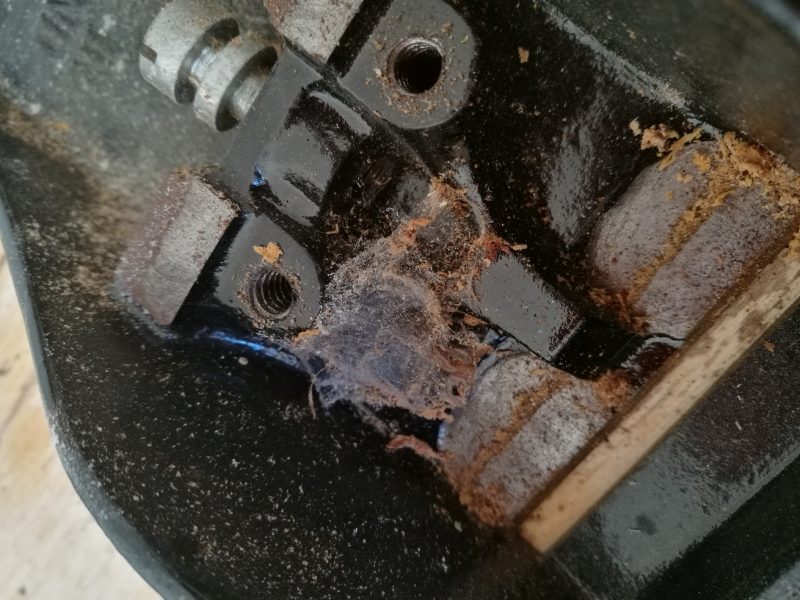
I HATE SPIDERS! Fortunately that was the only problem I encountered. The reason the front knob screw was sitting so low on the Record was the screw threads had been damaged at the end so the screw had to sit further down to bite and hold the knob securely. It doesn’t affect the use so until I stumble across a replacement I’ll live with it.
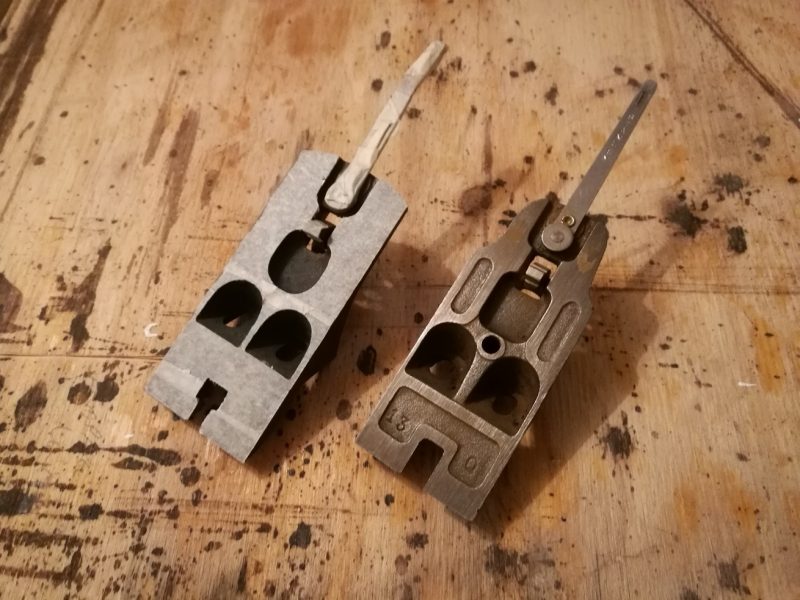
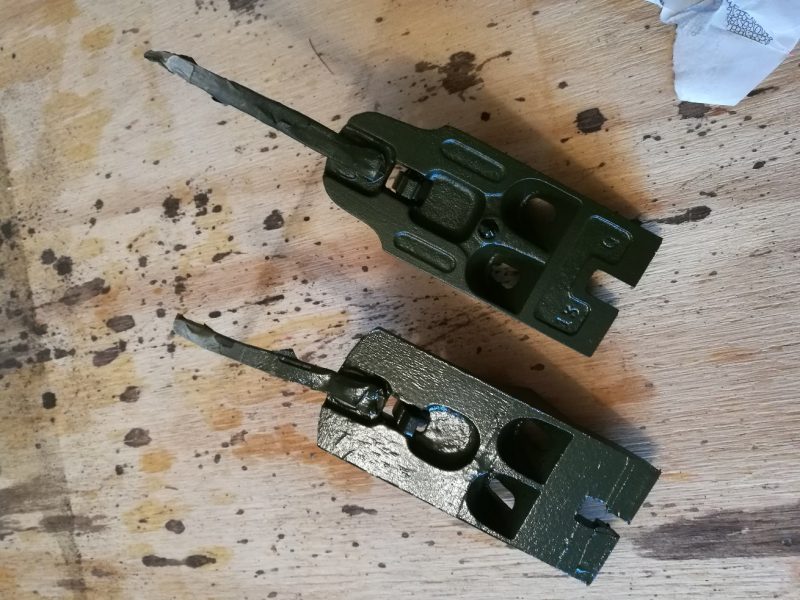
The opportunity to compare the two different brands was too good to miss for a tool geek like me. The main body on the two brands are nearly identical, although the Record is thicker in all areas (except the sides, which were a lot thinner) so is quite a bit heavier. It also has a more refined bed, the area where the frog connects to the body. The Record has slightly larger areas where the two parts contact which likely means that the frog will sit more stable on the body than on the Stanley. The frog is very different in many respects, so here are some side by side shots:
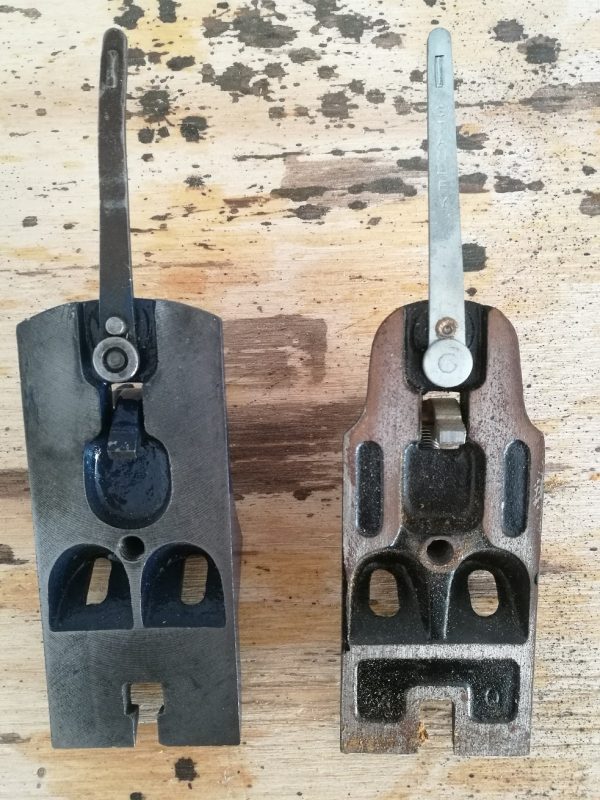
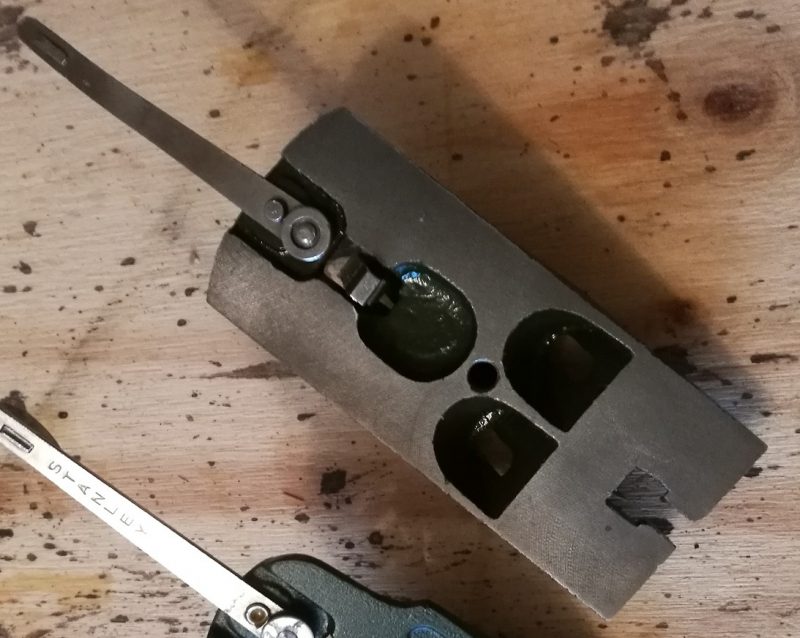
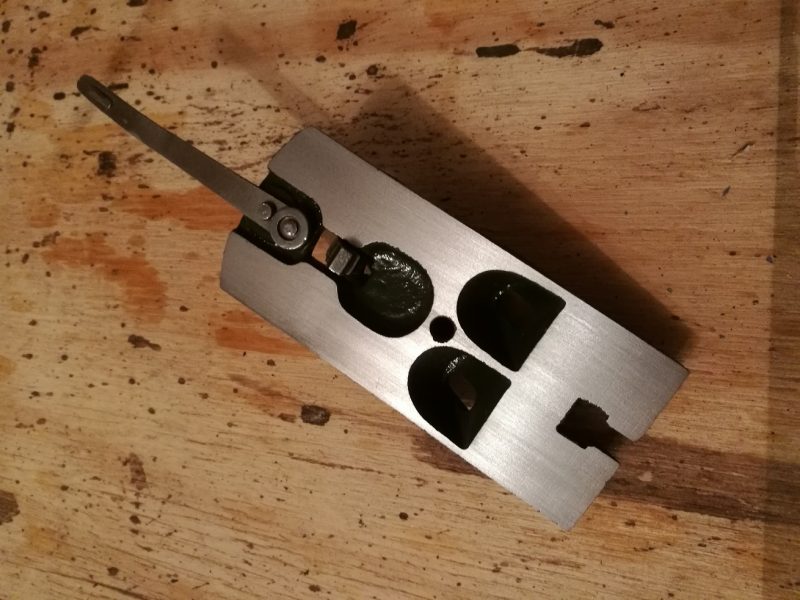
The face of the frog shows the biggest differences. The Record has a much larger mating surface for the iron to sit on, reducing blade chatter as the plane is working. The Stanley has many recesses in the casting, making the mating surface easier and cheaper to machine. Machine marks are visible on both items.
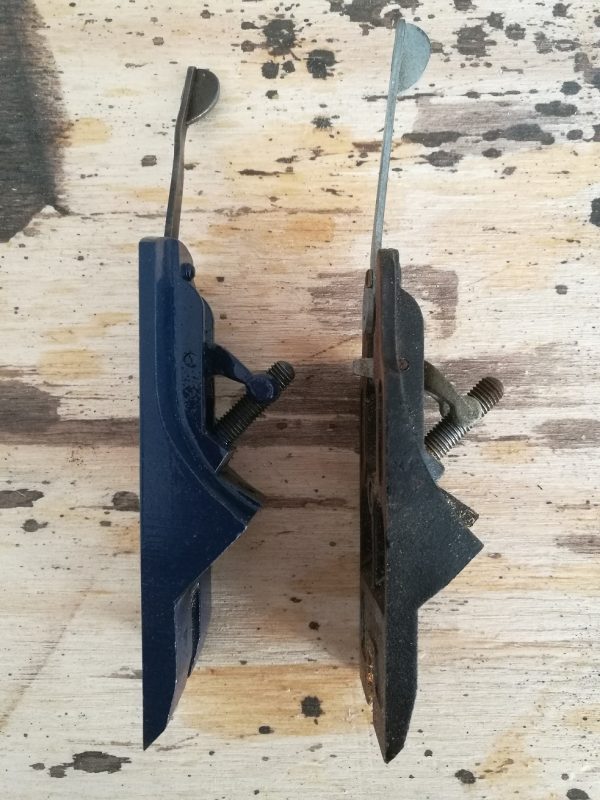
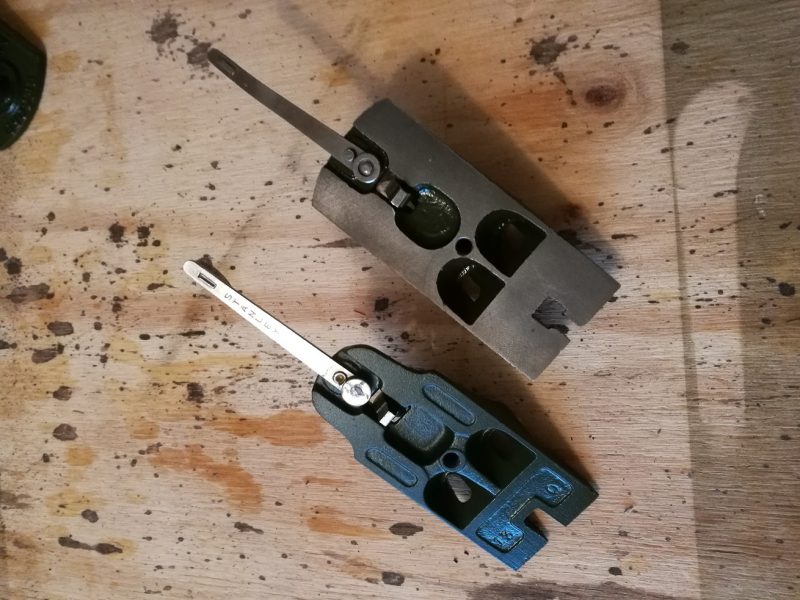
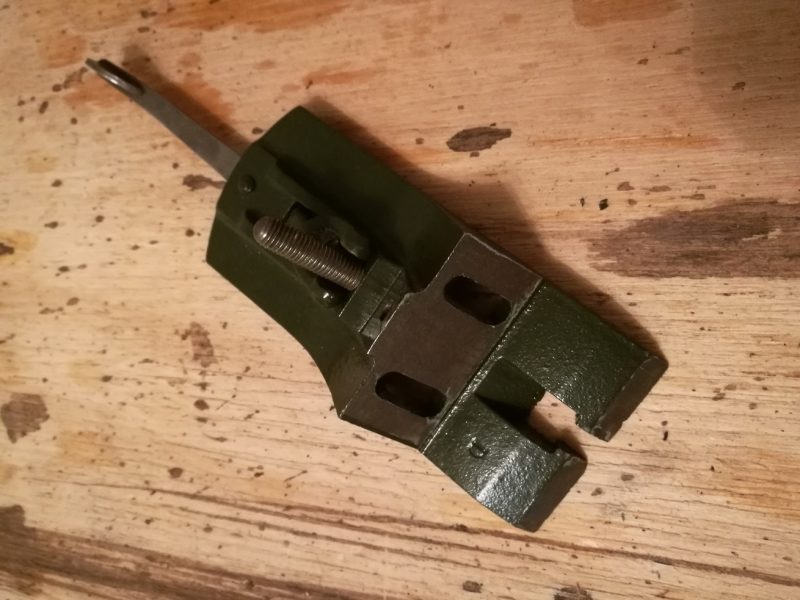
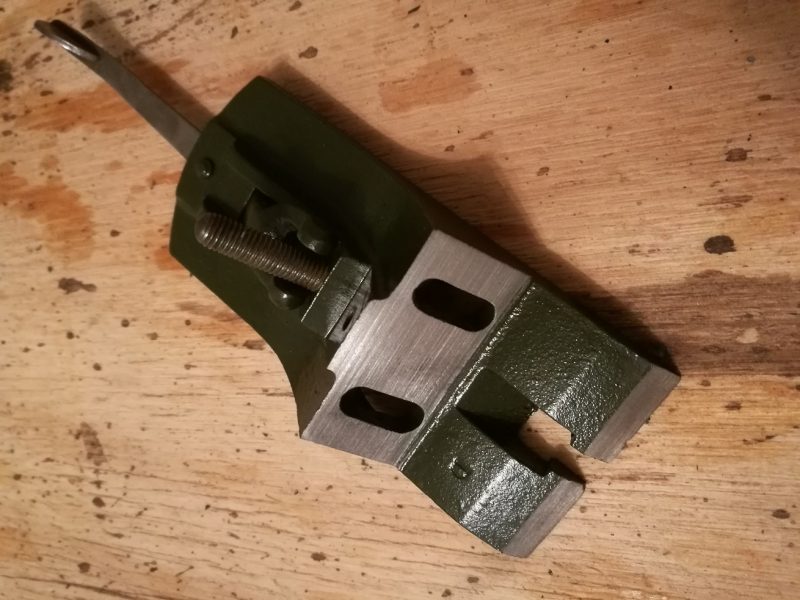
From the side it is obvious that the Record is again the chunkier casting. Other than that the profile is nearly identical.
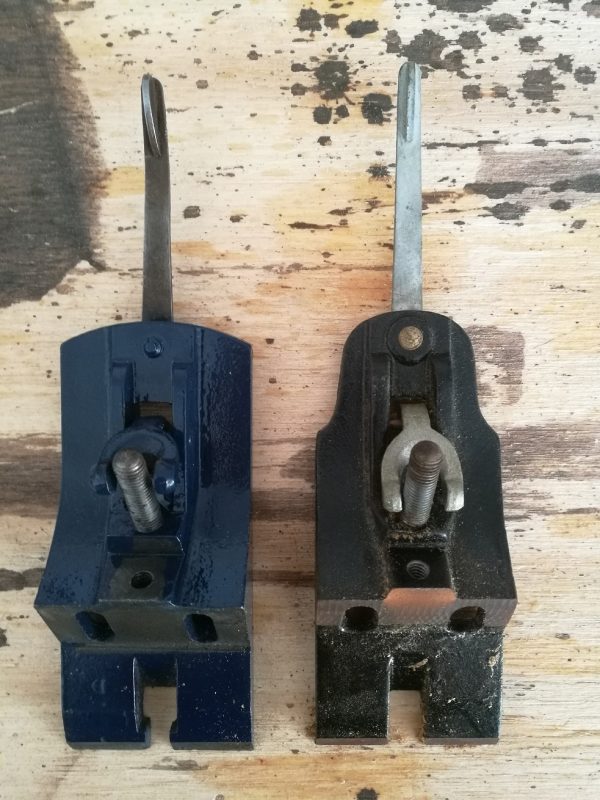
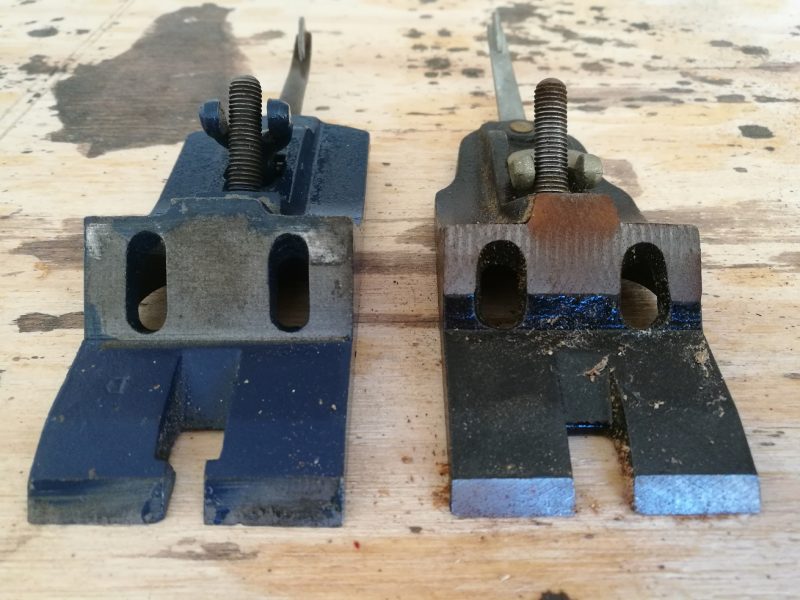
From the back the Record’s thicker casting is visible again, but so are the much larger mating surfaces which enables a better seat on the body. Also note the overspray in the the last two pictures from when the plane was restored by the online seller. Some of the paint was still tacky so it had obviously been done very close to selling it. There was overspray on every fixing too.
On to actually restoring them, instead of just looking! The first thing was to get all of the paint off of the body and frog of each plane, so they were soaked in paint stripper overnight. I use a water based, environmentally friendly low VOC stripper. It takes a bit longer but my conscience is a lot clearer. After a 24 hour soak all traces of paint had been removed, using a wire toothbrush and a engineer’s scribe to scrape off any residual bits. Then everything went into a 50% water / vinegar mix to remove any rust.
Once derusted and dried it was time to paint everything. After degreasing everything so the paint would stick better I taped off the areas that I didn’t want painting. First the bodies (left masked, right not for illustration):
Then the frogs (left masked, right not):
Then came three thin coats of spray primer:
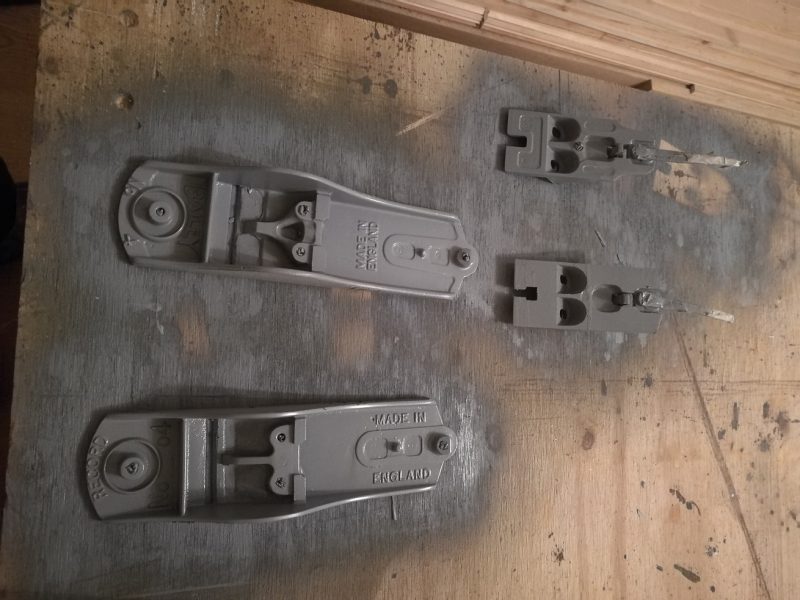
Followed by five very thin coats of BS224 Deep Bronze Green paint, my colour of choice for personal tools:
I left everything for 48 hours to make sure the paint had fully cured. Here’s what the bodies looked like after painting:
And after the masking tape had been removed:
Taking the Stanley body first I examined all of the mating surfaces inside the plane (the unpainted areas in the picture):
Getting into the little spaces to clean them up isn’t easy. I superglued a square of sandpaper to my fingertip to clean of the surfaces. The trick is to remove as little material as possible whilst ensuring that the frog sits securely and without rocking on the body. Removing the machine marks isn’t important as long as the fit is perfect:
I repeated the same procedure with the Record body. Here’s before:
There was a big discrepancy between the heights of the two upper mating surfaces, and I had to spend quite a bit of time removing material from the higher one to make the frog sit without rocking:
Here’s what the frogs looked like after painting:
And after the masking tape was removed:
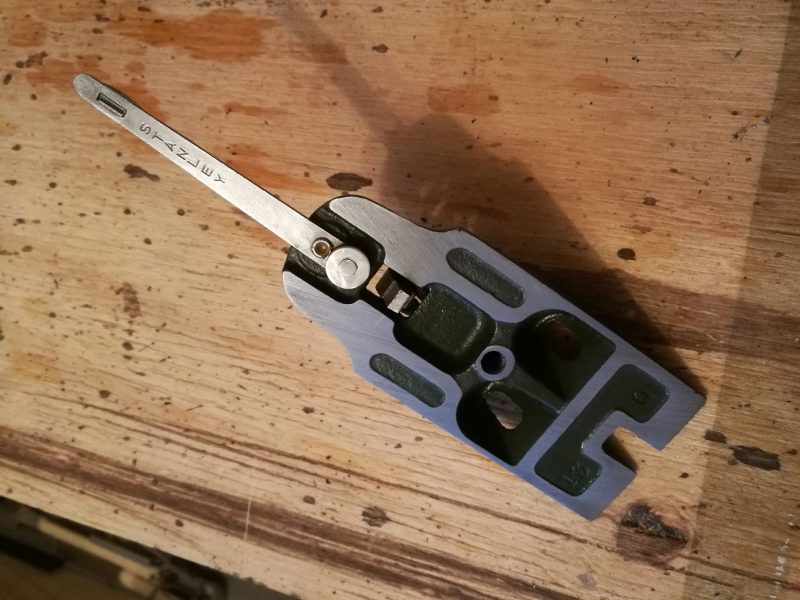
I started on the Stanley frog. I began by flattening the surface that the iron sits on. This is before:
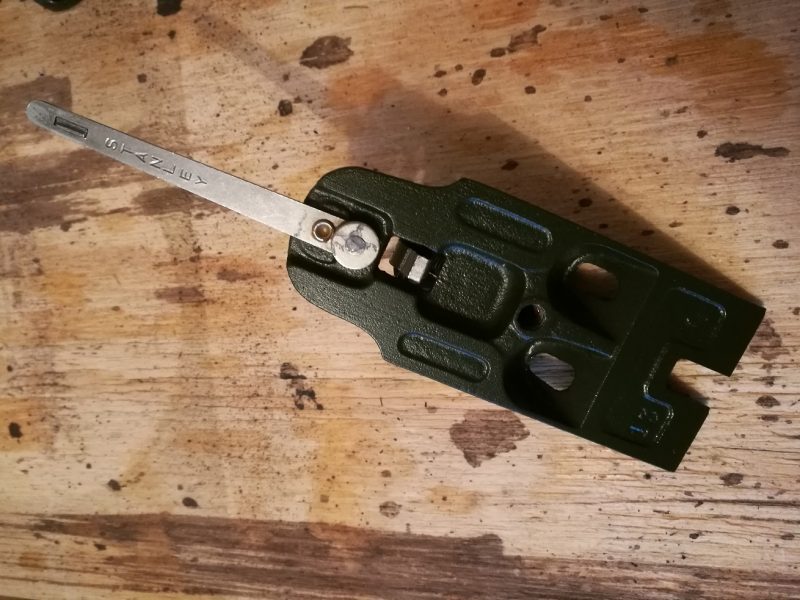
And this is after:
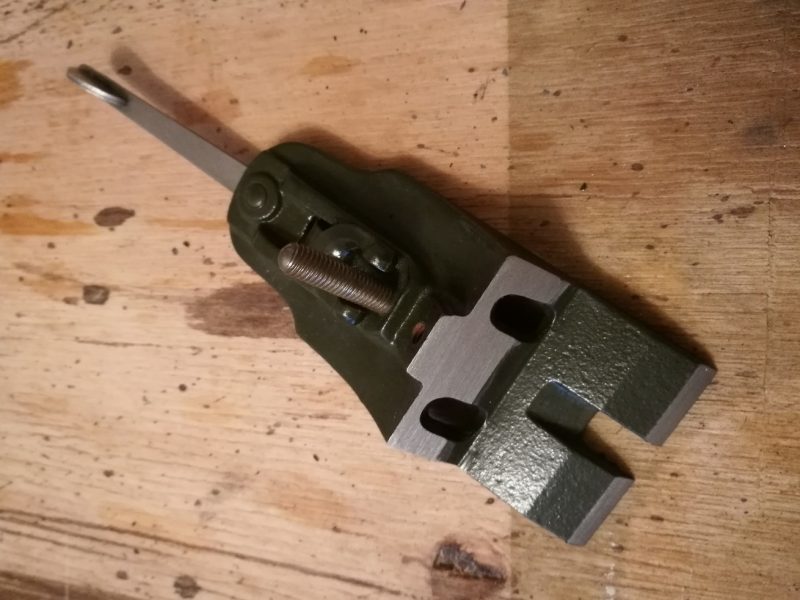
Then I worked on the mating surfaces underneath the frog. Before:
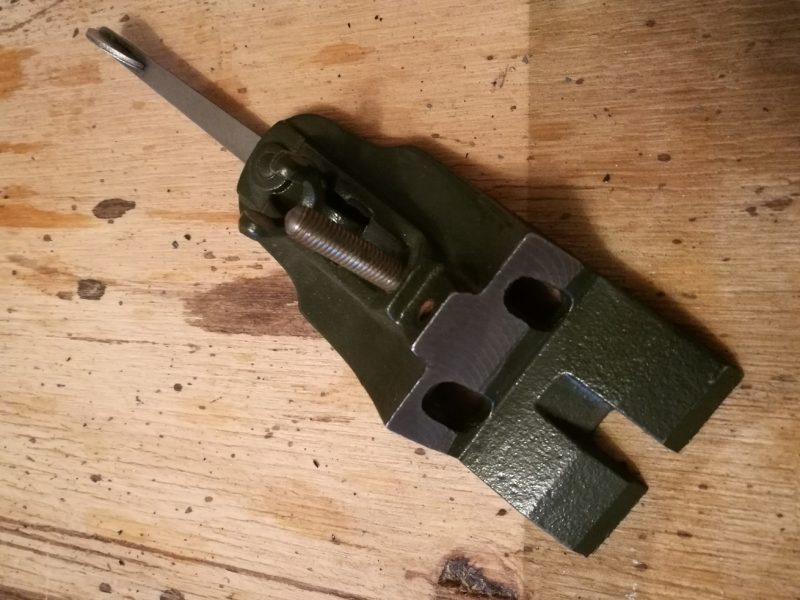
And after:
The same was done to the Record frog. Upper face before:
After:
Lower mating surfaces before:
After:
The next day I started on the knobs and totes. I decided to resand and refinish the ones on my restored Stanley at the same time as the others. Here is what the the tote and knob from the unrestored Stanley looked like:
I used the side of a rule to scrap away all of the loose finish. The varnish on the Record was so thick I think it must have been dunked in the tin:
After all of the loose material was removed. everything was then sanded smooth using various grits of sandpaper. A very important thing to note is the Record knob and tote were made of rosewood, which can give a very nasty respiratory reaction if you inhale the dust. I took them outside and wore a dust mask to be safe. The later Stanley items were a random hardwood, as rosewood is now a restricted species so it is very rarely used these days.

Next I stained everything to try and even the colour and coated them with several coats of boiled linseed oil. It’s personal preference whether to lacquer or oil handles, but I personally find oil more comfortable and more natural to the feel. One thing I hadn’t guessed would happen was the boiled linseed oil seeping out of the break in the rear tote of the Record, so for about two weeks after I finished it I got a handful of oil every time I picked it up. It’s settled down now, but it’s something to be aware of when working with repaired totes. That was the wooden parts finished:
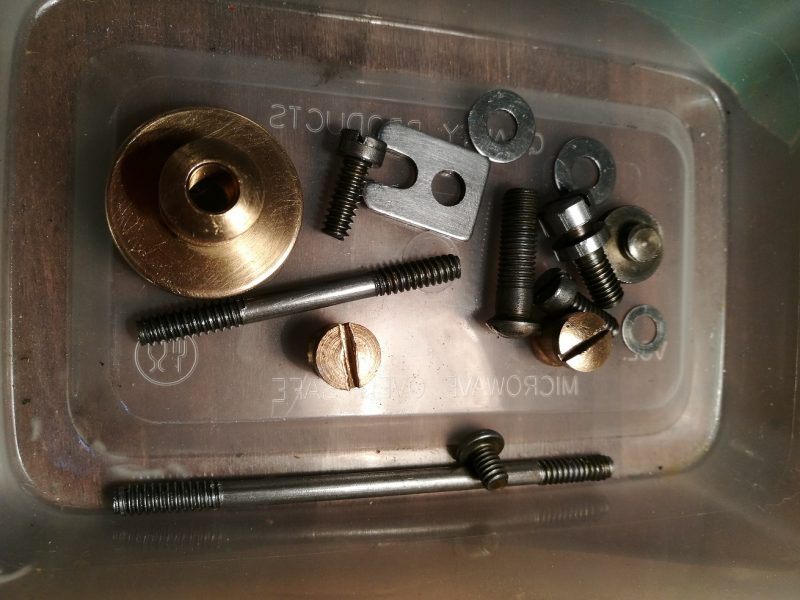
Another night, another part of the planes. This time it was all of the small fixings. I soaked everything in my vinegar / water mix for four hours, then used a metal bristled toothbrush to clean all the rust and dirt off. All of the brass was polished with Brasso to make it gleam:
It was time to look at the irons and chipbreakers. Here is the unrestored Stanley before:
During:

And after:

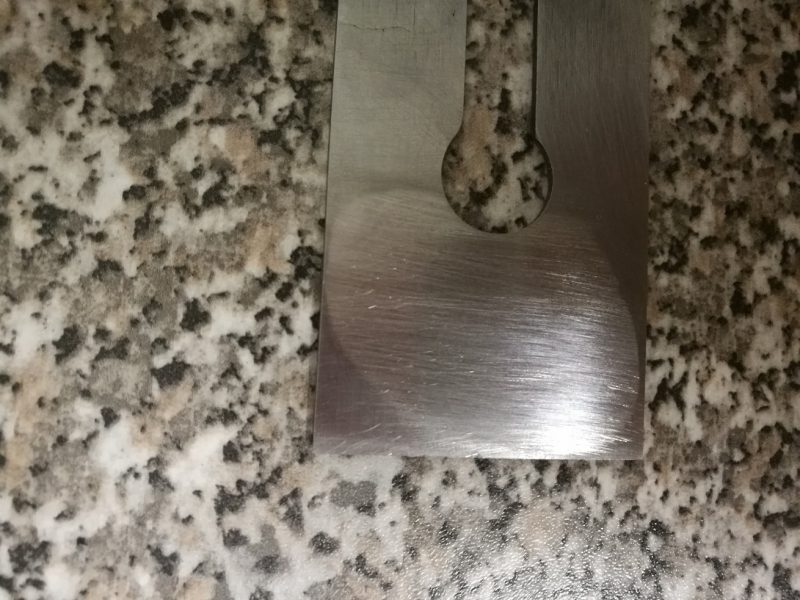
I then started to hone the irons. First I flattened the face of each iron. This was easy on two of them, but one of the Stanley irons had a huge belly in the face that took hours to remove. This is partway through, after an hour of hand grinding:
Eventually every iron was sharpened to my satisfaction, and I mated each one to the chipbreaker, flattening the mating surface of the chipbreaker until it met the iron without any gaps along the entire length.
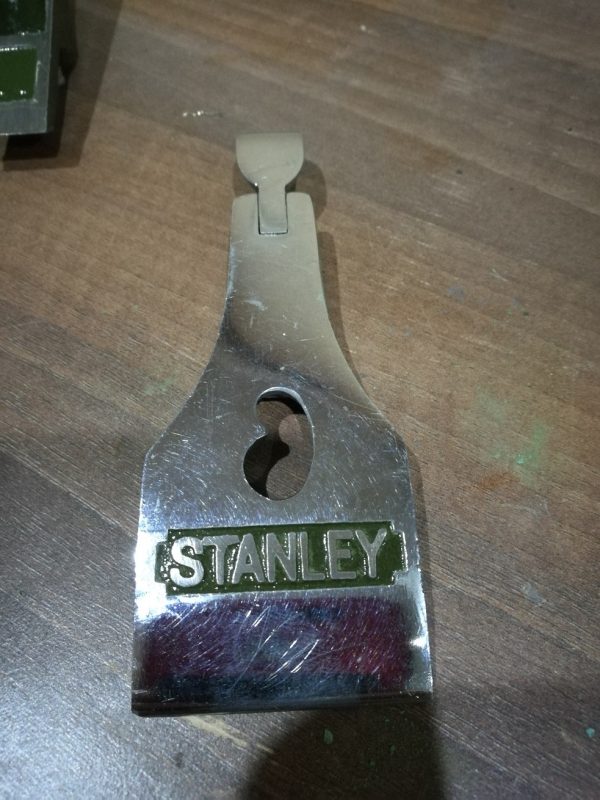
I also polished the lever caps. On one of the Stanley ones the paint around the logo was half missing, so I very carefully masked it off and painted it. It was very fiddly work, but totally worth it:
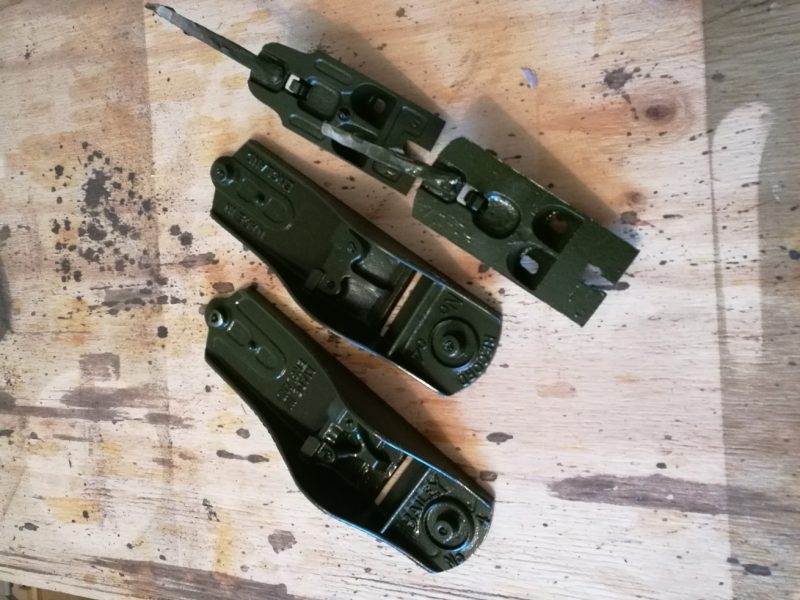
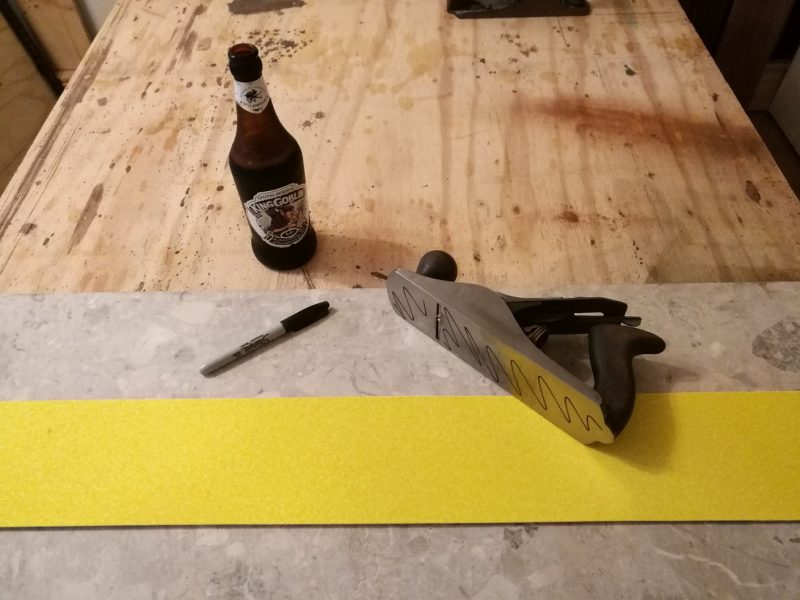
After that it was time to completely reassemble the planes, lubricating and protecting every component as I went, and taking extra care to make sure everything was aligned and secured correctly. There was only one job left, and it was the most time consuming. I had to flatten the soles and sides of each of the bodies to ensure they worked as accurately and efficiently as possible. This is achieved by securing sandpaper to a flat surface and rubbing the plane on it as if you were planing wood. I used a marker pen to make sure the critical areas of the sole were all being flattened. These areas are the toe, the heel and the area around the mouth. It’s lovely to have a perfectly flat sole for aesthetic reasons, but it won’t affect the plane’s ability one little bit if there is a slight hollow behind the mouth, as is frequently the case. Oh, and because it was such a time consuming job I had to make sure I was fully fuelled up too:
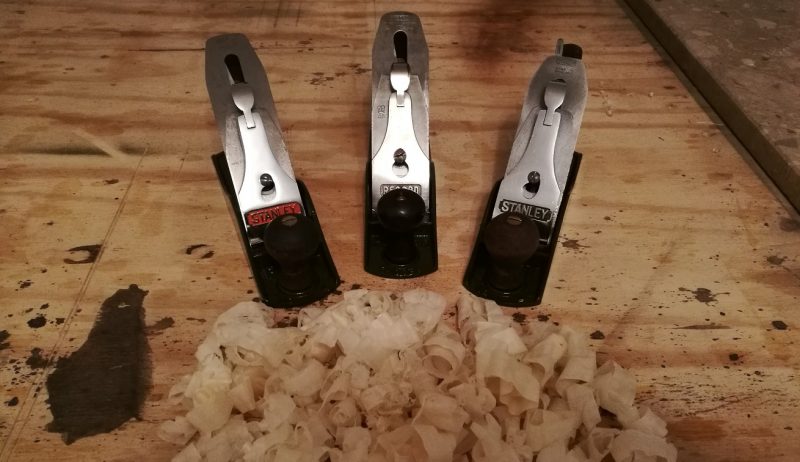
Once that was complete the planes were done! They looked awesome, even if I say so myself:
And of course, I had to test them and take a gratuitous wispy shaving photo:
I love restoring old hand tools. I did all three at once, but only one will stay in my collection. The Record has earned a place on my shelf but the two Stanley planes have travelled accross the other side of the country to Edinburgh, as a thank you for a workshop tour I received from two woodworking friends based there.
I hope that this gives a good representation of the level of detail I go into when restoring something. Although the plane I bought from the auction site had been described as fully restored it had basically been painted and the iron replaced. I’m not aiming to put anyone down, and I would like to highlight the excellent job they did of repairing the broken tote, but I want to make sure you are aware that there are different levels of restoration and that you should find out exactly what work will be carried out before you hand over a tool. If you would like a hand tool restored please get in touch, and I will gladly offer you some no obligation options.