Whilst I am setting up shop in Scotland I am not getting much time to do any woodworking, so I thought I would share something from the archives that I really should have written about a long time ago, especially as I’ve had so many questions about it.
I’m talking about my tool tote. At my previous job I soon became known for my woodworking and handyman skills, and seemed to spend more and more time doing that than the job I was paid to do!
However, lugging tools all over a large site all the time soon got tiring, so I had to find a way to transport them. Have you seen the price of tool totes? It was a good job I was sitting down when I researched them as I would have fallen over otherwise. I was sure I could build something ten times better than anything I could buy, so I decided to do a bit of research and settled on the design Paul Sellers demonstrated on his YouTube channel (If you are into woodworking but don’t know who Paul Sellers is I highly recommend you check him out). I had a look around my wood pile to see if I had any suitable material. I found some 1 inch by 10 inch wide board that I had got from a delivery crate. It was in very good condition with no dings or splits, but it was filthy so I decided to use a powered sander to clean the wood up. That was the only power tool I used, the rest of the project was unplugged.
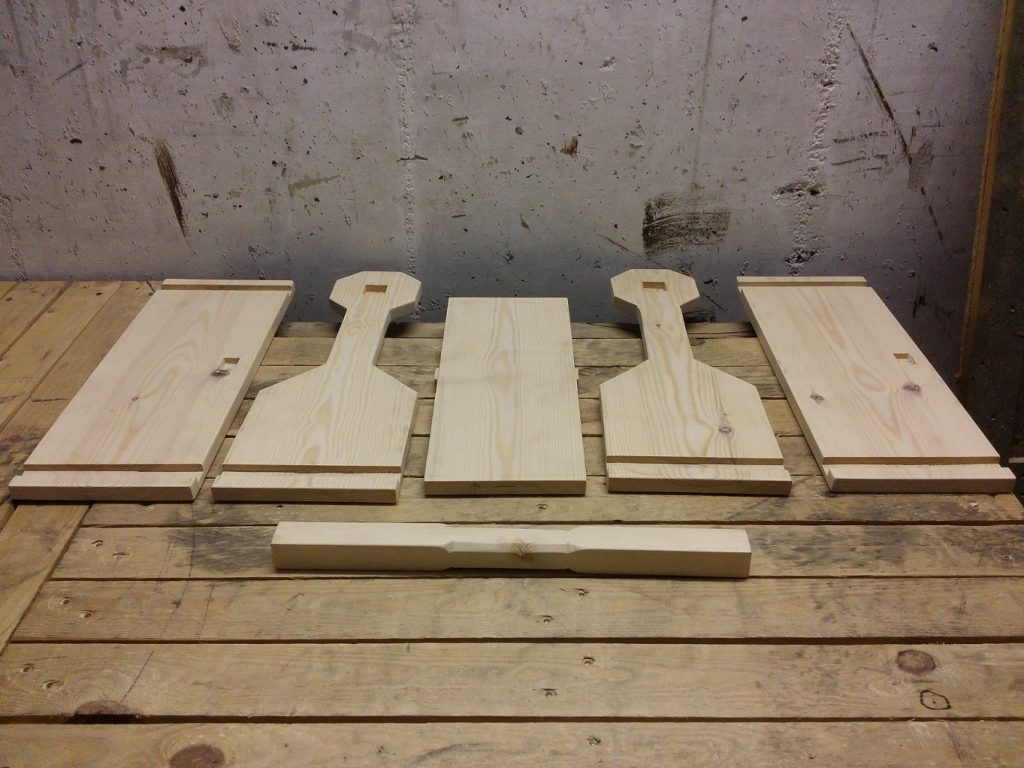
The joinery in this project is comprised mostly of dados, with the handle fitted to the ends by mortice and tenon. In addition, I added another mortice and tenon joint halfway along the length of the base to prevent it sagging under load. In a moment of genius I designed the top of the tote’s handle to sit at the exact same height as my hop up, so I could use it as a sawhorse.
I cut all of the joinery and then cut the two end pieces to shape, clamping them together whilst I cut them out to make sure they were identical. I also cut a relief on the handle so it was more comfortable to grip. This is what I ended up with:
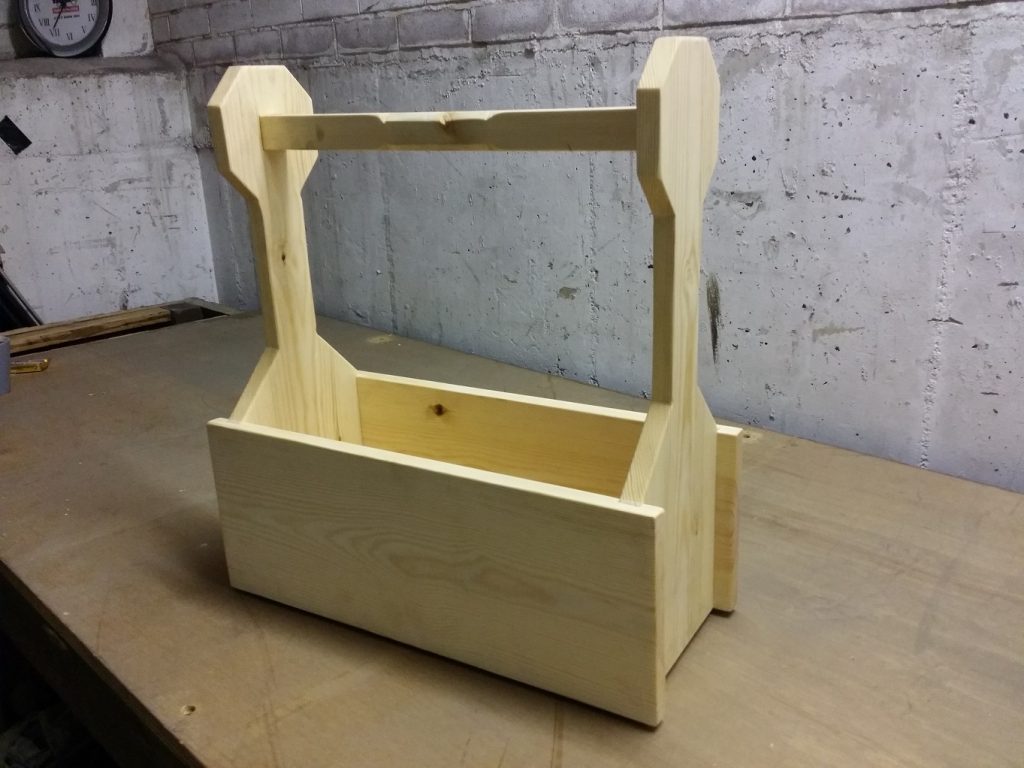
As usual, I had taken extra care to make sure all of the joints fit snugly but not too tightly and that every piece was square. This meant that it was super easy to glue the project together because I knew everything would fit together perfectly and the project would end up square. So, after a dry fit to make sure I hadn’t made any silly mistakes I applied glue to all the joints and clamped everything in place to dry overnight:

It isn’t visible in the picture, but I also added a square of wood at each corner to act as feet to stop it getting bashed about so much on the bottom edges. They were glued into place, with the weight of the tote acting to hold them in place securely as the glue dried.
The following morning I unclamped it and checked everything had set up as planned. Then I gave it a final sanding and applied three coats of Danish Oil, lightly sanding between each coat, followed by two coats of clear wax:
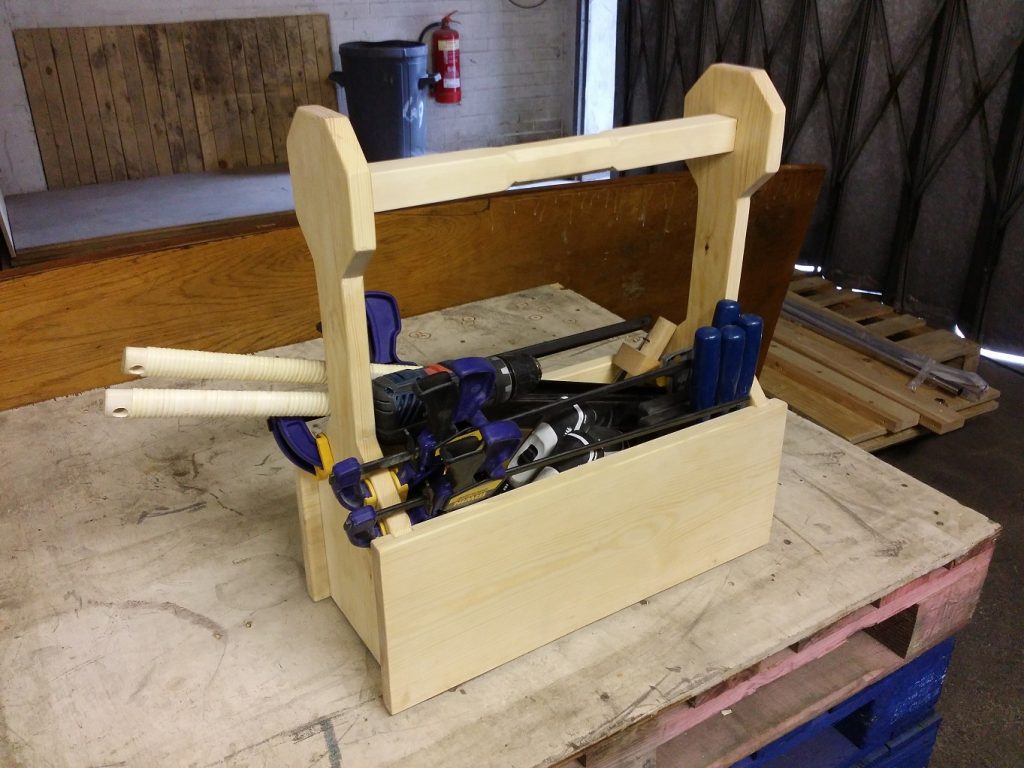
So, how much stuff does it hold? This much!
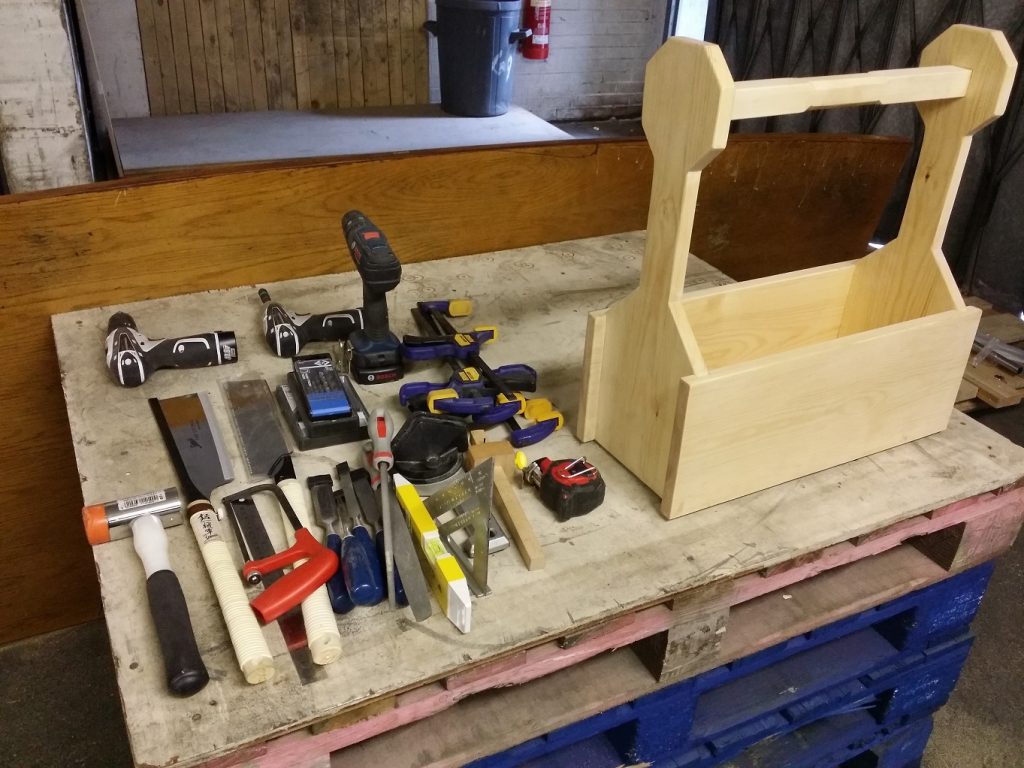
And this is everything all laid out:
I have plans to expand it in the future by fitting a tray that clips to the bottom and has dividers to carry screws. If I was to build this project again I would use a polyurethane varnish for a harder finish, but I didn’t have any to hand and buying some would mean this would no longer have been a free project. It ended up looking really nice as it was and over a year of constant use hasn’t affected it. I have used it at work, at home, at other people’s houses and now it has transported my essential kit all the way up to Scotland with no more than a bit of dirt to show for it. I design everything I build to last for generations, and nothing I have built works harder than my tool tote! I just wish I had taken more photos of the build process.
The kit I carry has changed. I still carry a cordless drill for drilling into walls, but everything else I carry is unplugged. It doesn’t matter what I put in it, if I can carry it my tool tote can too!