I’ve been making a few picture frames recently, so I thought I would share some of them with you. I’ll start off by showing the process I used to build one, and then show some pictures of the variations I have made so far.
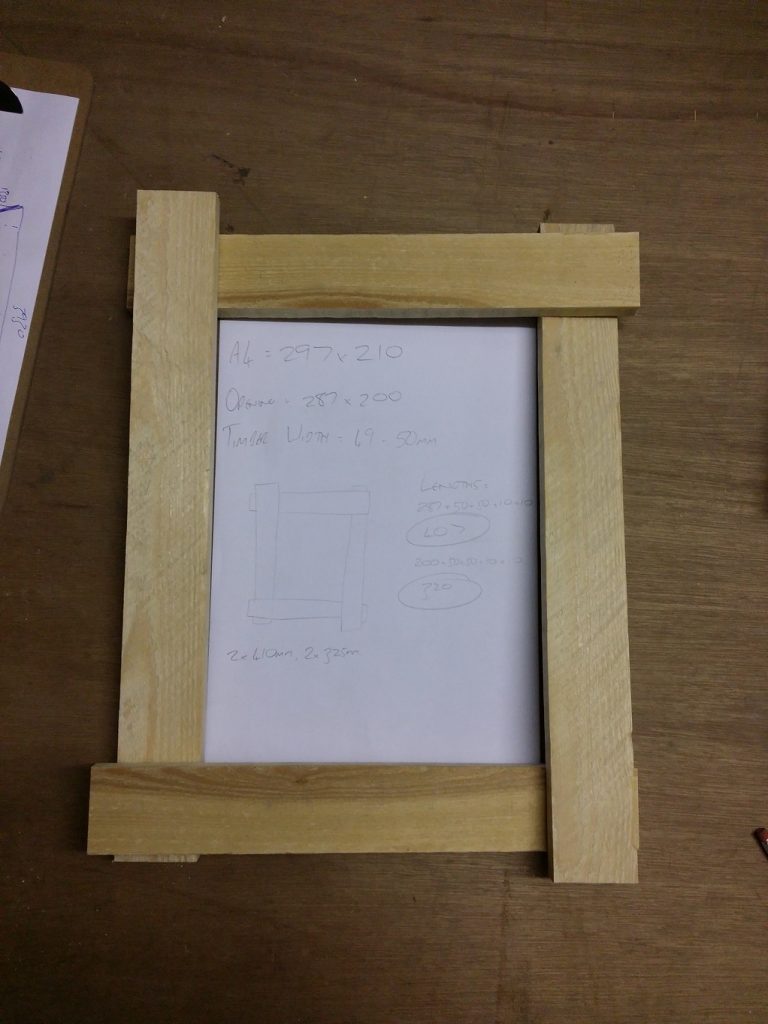
This frame started out as a piece of pallet wood that I had laying around. It was clean but roughsawn when I found it, so I decided to keep it rough for a more rustic appearance. I knew it was going to hold a piece of A4 sized paper, so I cut it down to a very rough size and played around until I found a design I liked.
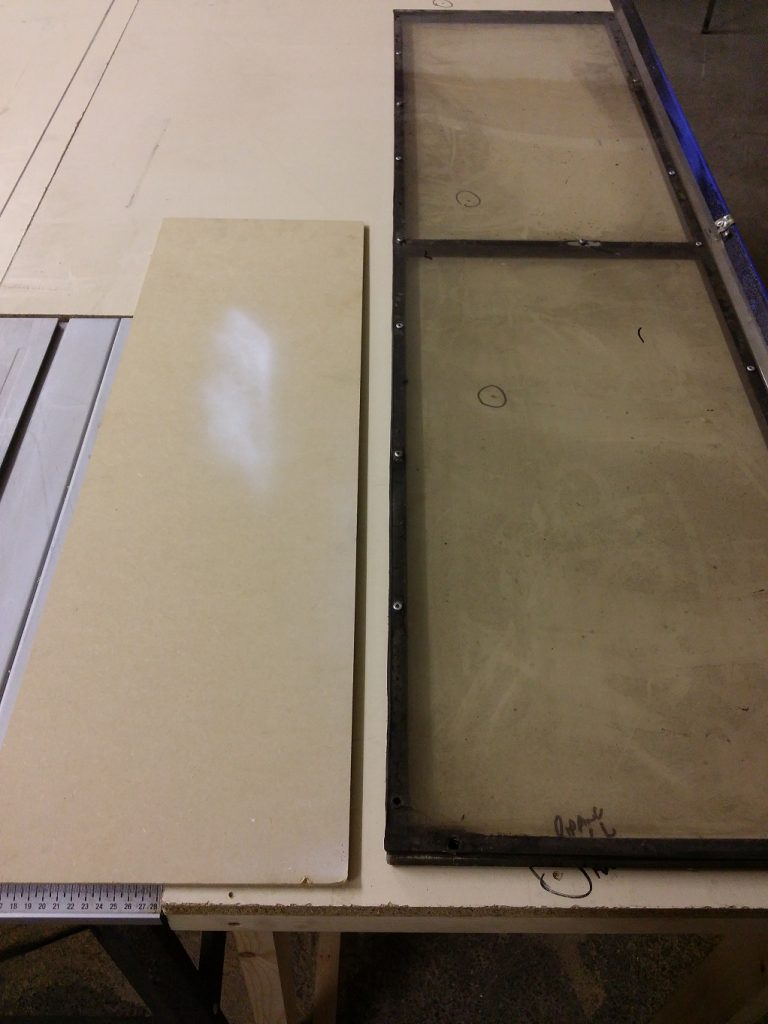
Next I went hunting around until I could find something suitable for the backing and the glass front. The backing was easy, a piece of thin MDF from a packing crate I had lying around. The glass front took a bit more thinking, but I eventually found an old machine guard made from plastic.
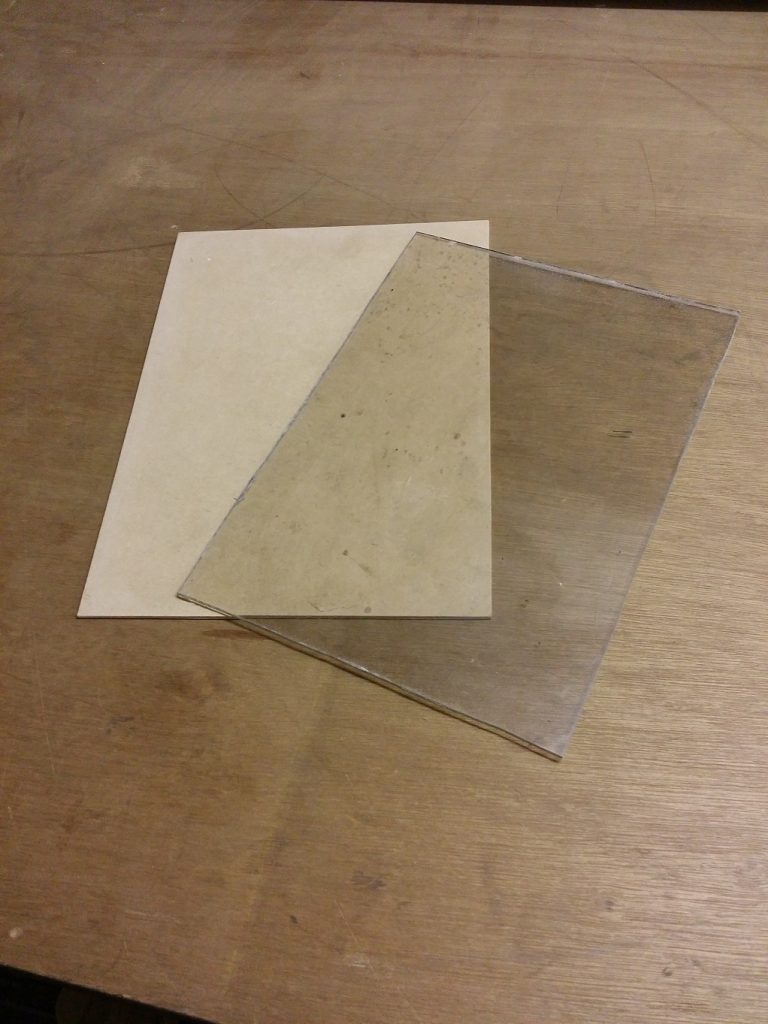
As this was to be an unplugged project I got my hacksaw and started cutting the plastic. This was easier said than done as the plastic is designed to stop flying projectiles, and took forever to cut to size. Eventually I managed it, and after sanding the edges smooth I cut the backing piece to the exact same size.
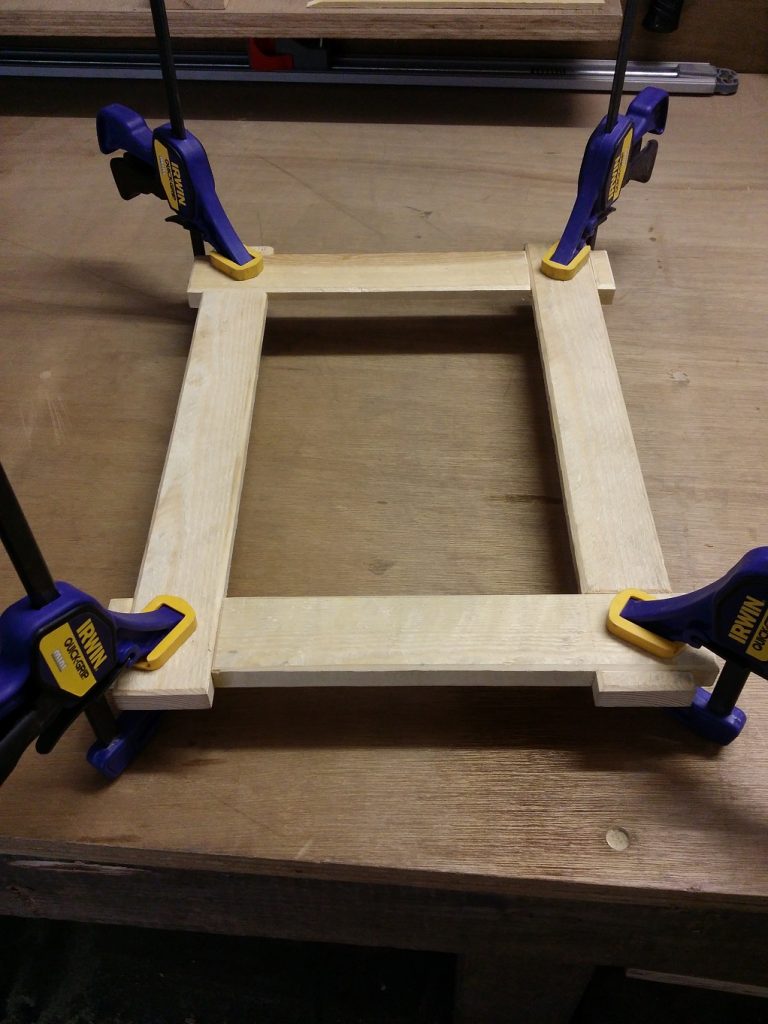
Back to the frame itself. I decided to make it without the traditional 45 degree mitred corners to give it a bit of a different look. After very careful marking and checking about a million times (it is very easy to get confused if you don’t mark your cuts clearly) I cut half lap joints at at each corner.
I also took the opportunity to cut a groove around the inside rear faces of each side of the frame, deep enough to accept the glass and backing material.
After dry fitting it together I didn’t quite think the joints popped enough to make a feature of them, so I very carefully bevelled all the front edges of each piece with a block plane. This meant that the joints were highlighted enough to make a feature of them. I was happy with the way the frame looked and fit together, so I glued it and left it clamped overnight to cure.
The next morning I simply fitted the glass, picture and backing into the frame and attached the hardware to hang it.
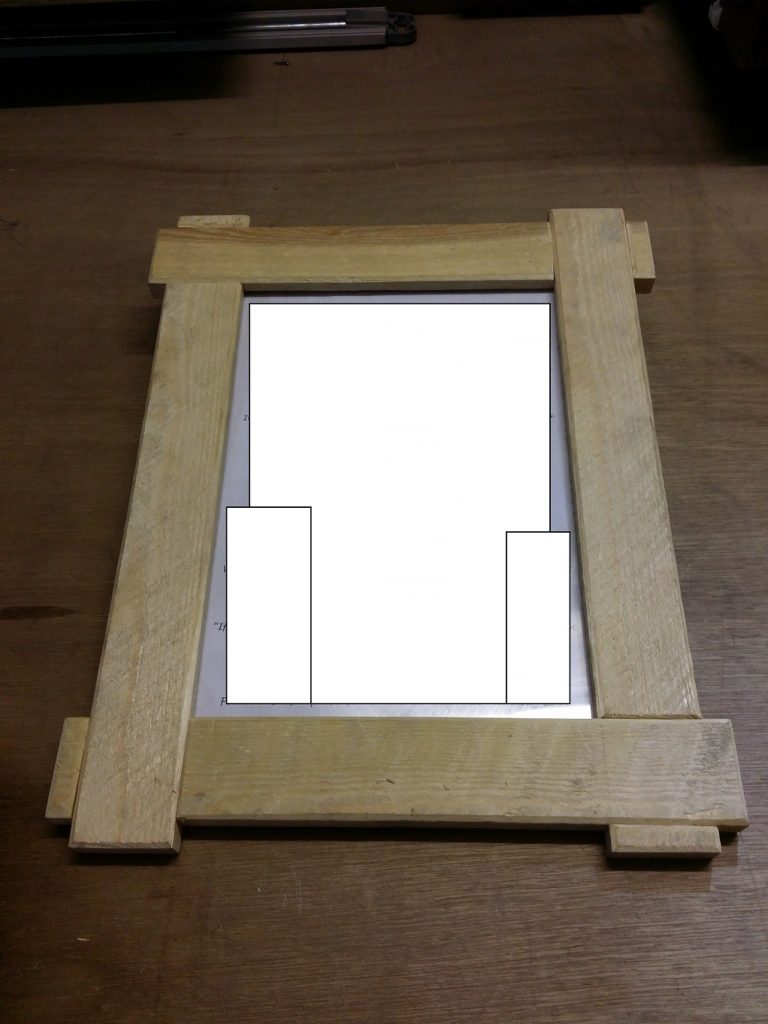
I was very happy with the end result, I liked the joint detail and the slight overhang at each corner gave it a slight Japanese feel. I left it unfinished to highlight the rough nature of the wood as once it is hung it will never be touched.
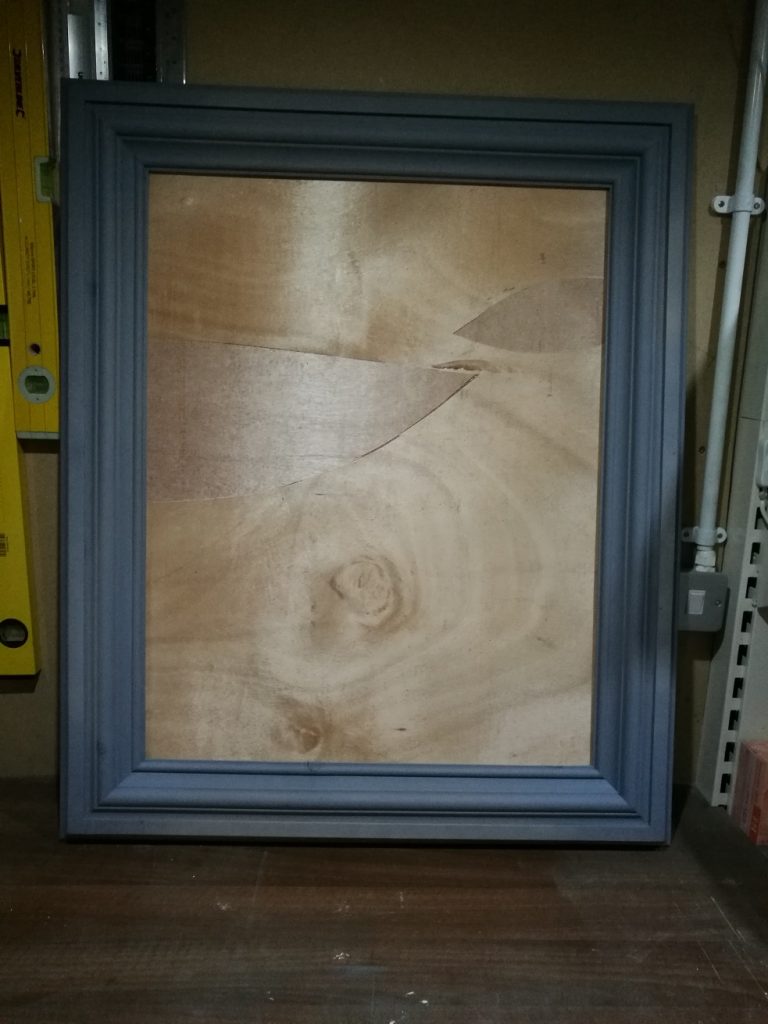
It isn’t just small picture frames that I make. I was asked to make a frame suitable to hold a poster. It was to be used in a stage production, and the brief was to make it look like it could be hanging on the wall in a stately home.
Rather than make a profile from scratch, I used several small profiles joined side by side to keep the time and cost to a minimum. I made a few samples from which the buyer chose the one he wanted.
Apart from building up the profiles, the frame was built in exactly the same way as the one above, using 45 degree mitres at the corners. The main difference was the size, so to stabilise it more I glued some support blocks of the inside of the frame to which the backing piece was screwed. This greatly increased the stability of the frame, especially as it was going to be moved about as a stage prop. Part of the brief was to leave it unfinished for the stage show to finish as they required, so I gave it a quick coat of primer to protect it and prevent it from warping in changes of humidity before handing it over to the client.
It was left to the client to paint it and mount the picture, and this is the final result:
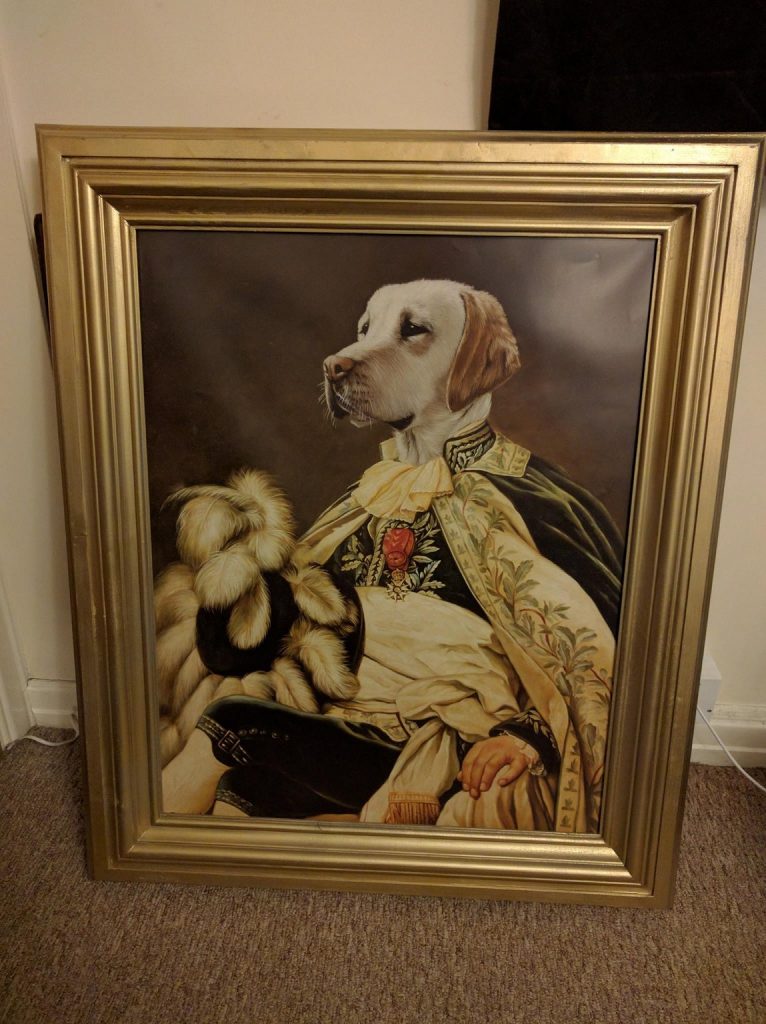
It turned out really well, and although the show was ultimately called off before it could launch, I really enjoyed my first foray into showbusiness!