Having no workshop means my tools are stowed in every nook and cranny of every room in the house. I can’t wait to have everything laid out neatly where I know where everything is and can access it easily.
One of my favourite pastimes is restoring old tools. I will go into greater specifics at a later date, but here is a brief breakdown of my process.
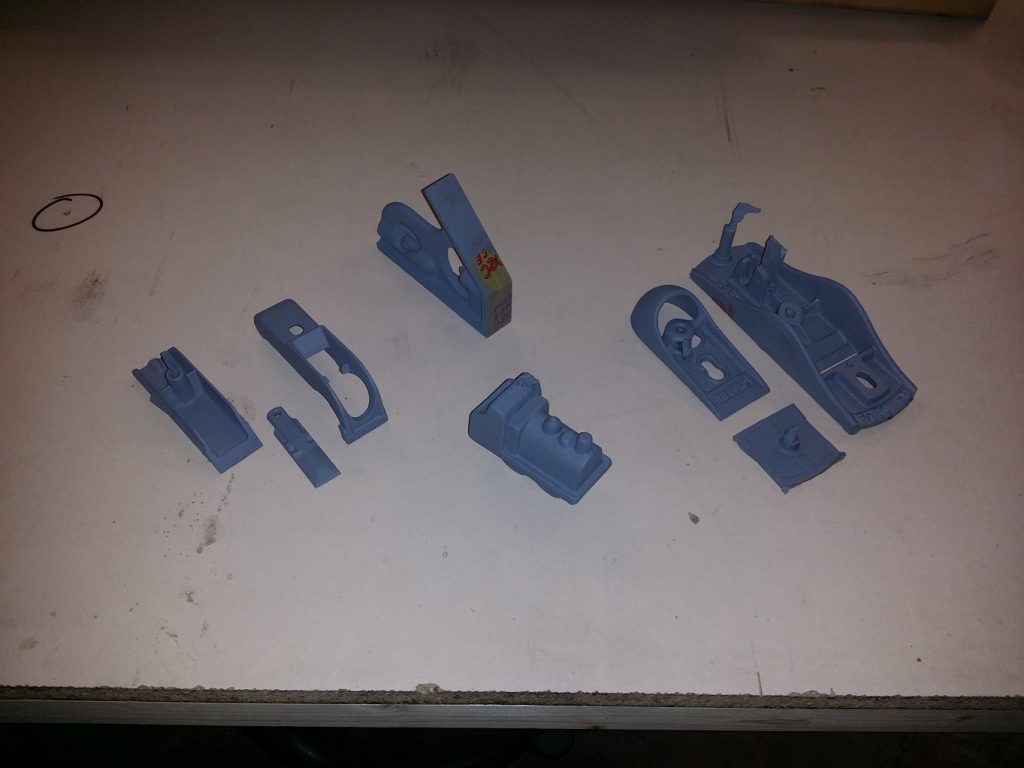
The first job is to strip the tool down completely. Everything painted goes into a tub of environmentally friendly paint stripper overnight to soften the paint for removal. Any rust is removed from unpainted parts and critical surfaces such as plane soles are smoothed. Any screws and fixings are cleaned and threads are cleaned and tidied. This leaves the entire tool clean and rust free
The next job is to mask of any items ready for painting. This is followed by several very thin coats of metal primer.
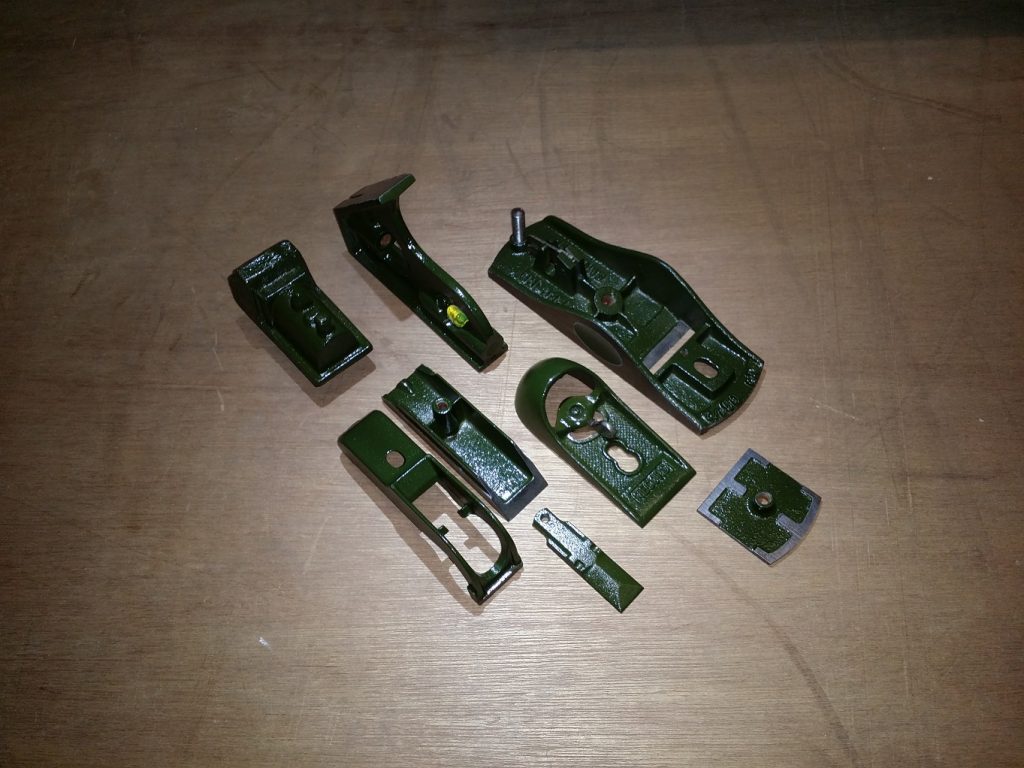
Next comes several very thin coats of top coat. I use spray enamel to give long lasting protection.
Next all of the critical surfaces are fettled to be flat, straight and parallel. This is probably the most time consuming part of the process.Any blades or irons are sharpened and the final step is reassembly.
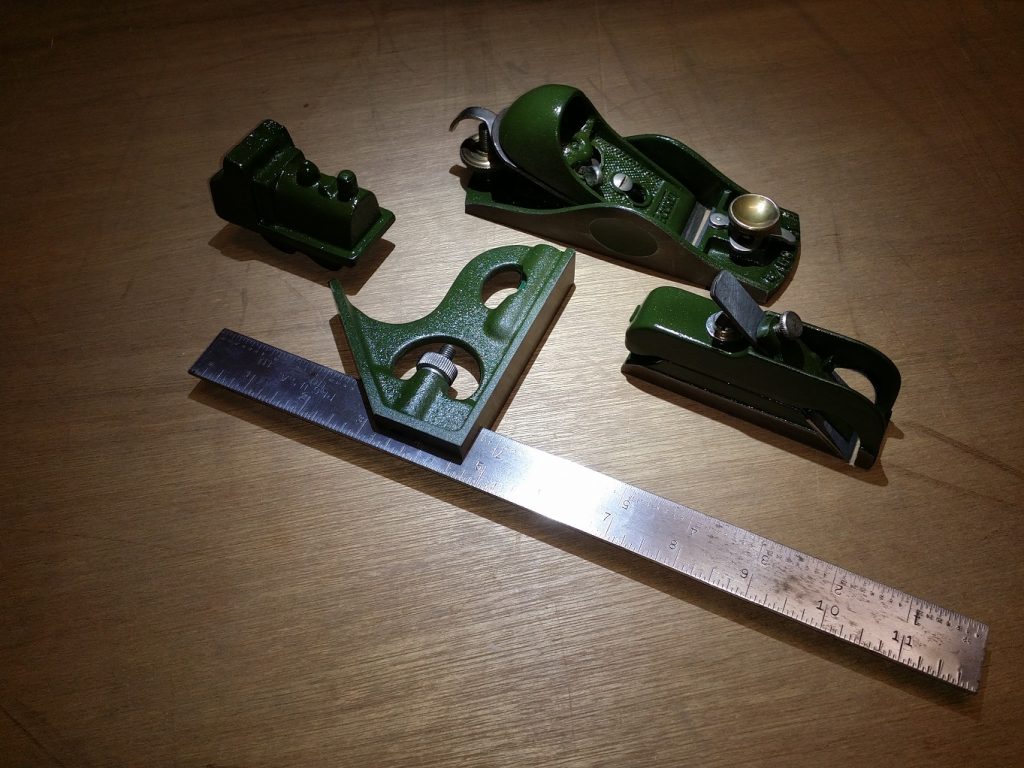
The finished items are now ready for several more decades of service.
This is just a very quick run through of a process that can take up to a week from start to finish.
As you may have guessed I am a massive tool geek, so if you want a tool restored, or if you have any old tools that you may want to sell, please contact me and I will be happy to advise.