There are two unrelated reasons why I decided to make a tray. First, my wife recently reached a milestone birthday and decided she was going to throw a birthday party to celebrate. That means I needed to find a way to transport a cake to smuggle in to the party. Second, our previous tray (which was made of plastic) suffered a terrible fate at my hands when I slipped trying to cut a watermelon, and cut a chunk of plastic instead of fruit.
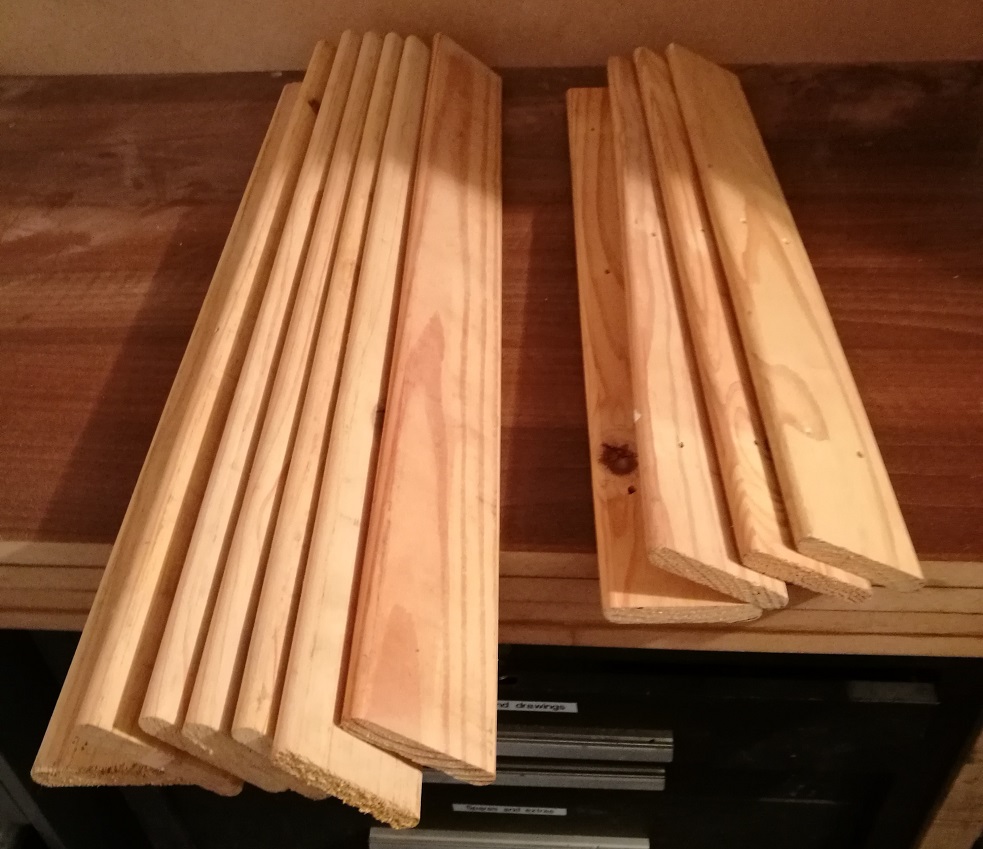
Like most projects, this one started with a rummage through the wood store to see what I had.
This bit may highlight my knack for hoarding. Back in the day before I discovered my love for woodworking we used to rent a house, and we had a REALLY cheap wooden shoe rack by the door. It was held together by the tiniest staples and was not even fit for purpose. When we bought a house and moved out of the rented house we didn’t need a shoe rack any more. So I dismantled it and kept it, in case the wood would be useful. Remember that I didn’t do woodworking that far back, but that didn’t stop me needing to keep the timber.
Long story short, it would be the perfect material for a tray. This is how it started:
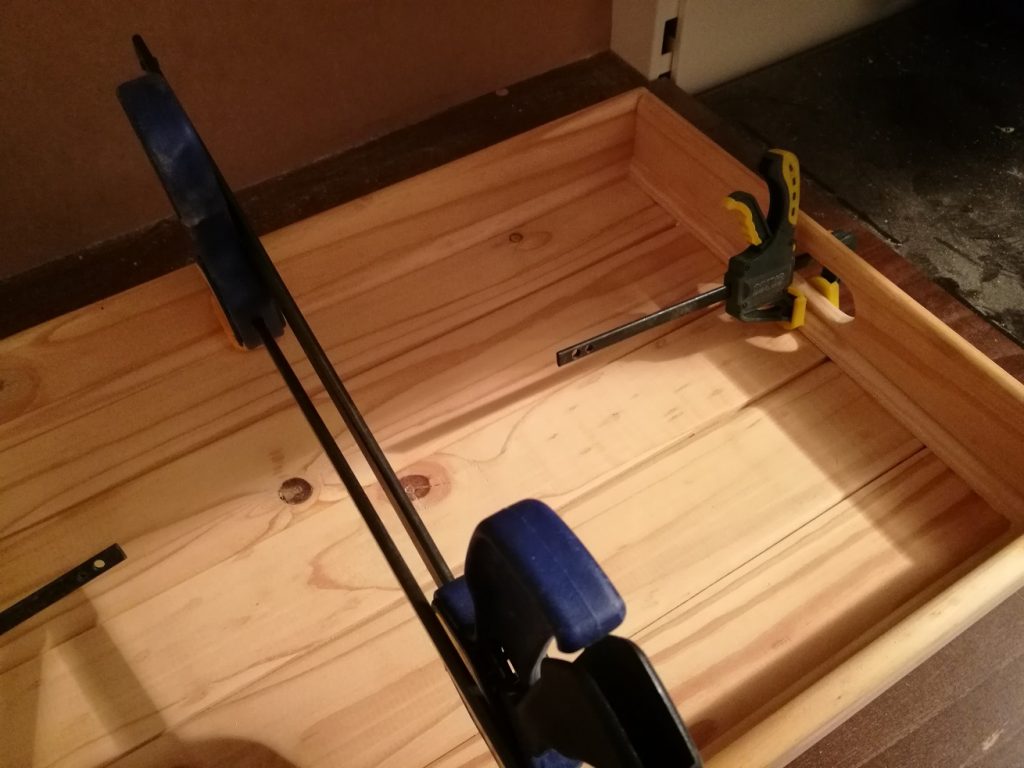
The first job was to trim off the rough ends and give everything a look over to see how much would be usable. There was one piece that had a split running lengthways from the end to the middle. Rather than waste it I glued it and clamped it to hold it together:

A little tip, glue doesn’t stick to greaseproof paper, so wrapping the wood in it will stop the glue sticking to the clamps and enable them to be removed easily.
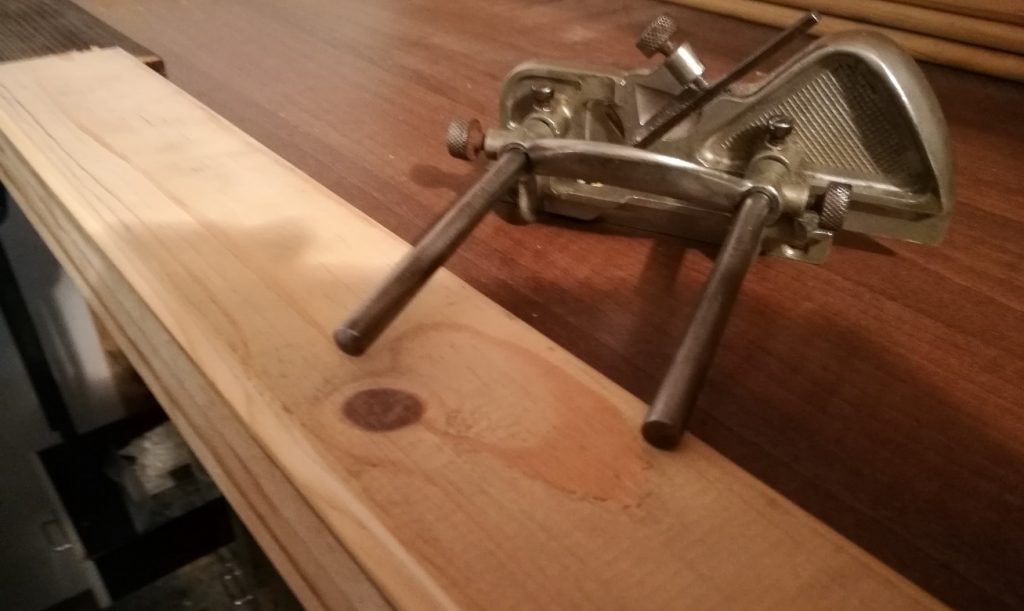
Next, I selected the pieces to make the base of the tray. I ran rabbets along the length of each piece to overlap them. To do this I used my current favourite plane. It is a Rapier grooving plane, based on a Record 043 plane. I bought it off the famous internet auction site for about £4 because it was missing all but one of its cutters. A quick clean up with some white spirit and some 0000 fine steel wool was all it took to bring it back to tip top condition. Once I had sharpened the iron it was ready for work. It has its limitations, but it is so quick to set up and so light and easy to use I just keep coming back to it.


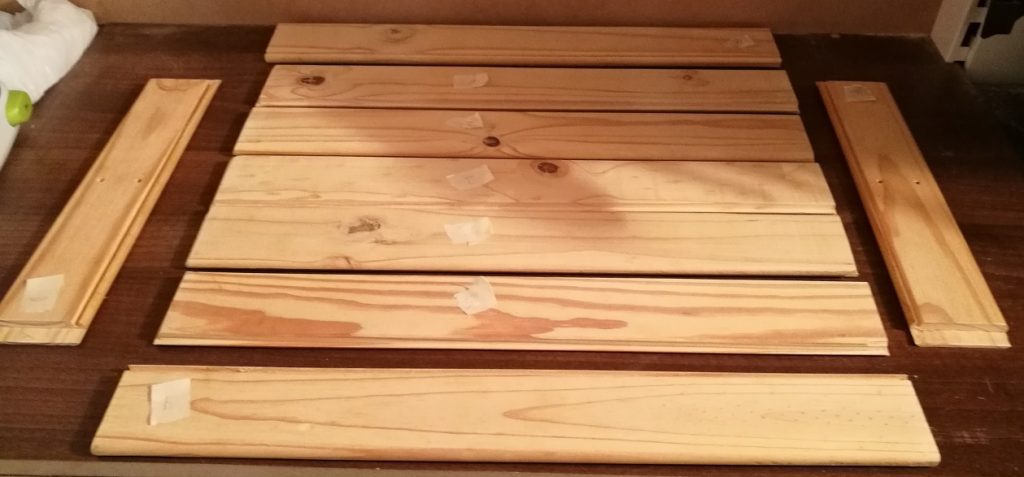
Next job was to prepare the sides. Using the same Rapier plane I cut grooves along the lengths to support the base. I cut the sides to lengths and then cut rabbets at each end of the long sides to give a bigger glue area and a stronger joint. I labelled everything as I went so it would go back in the same order every time:
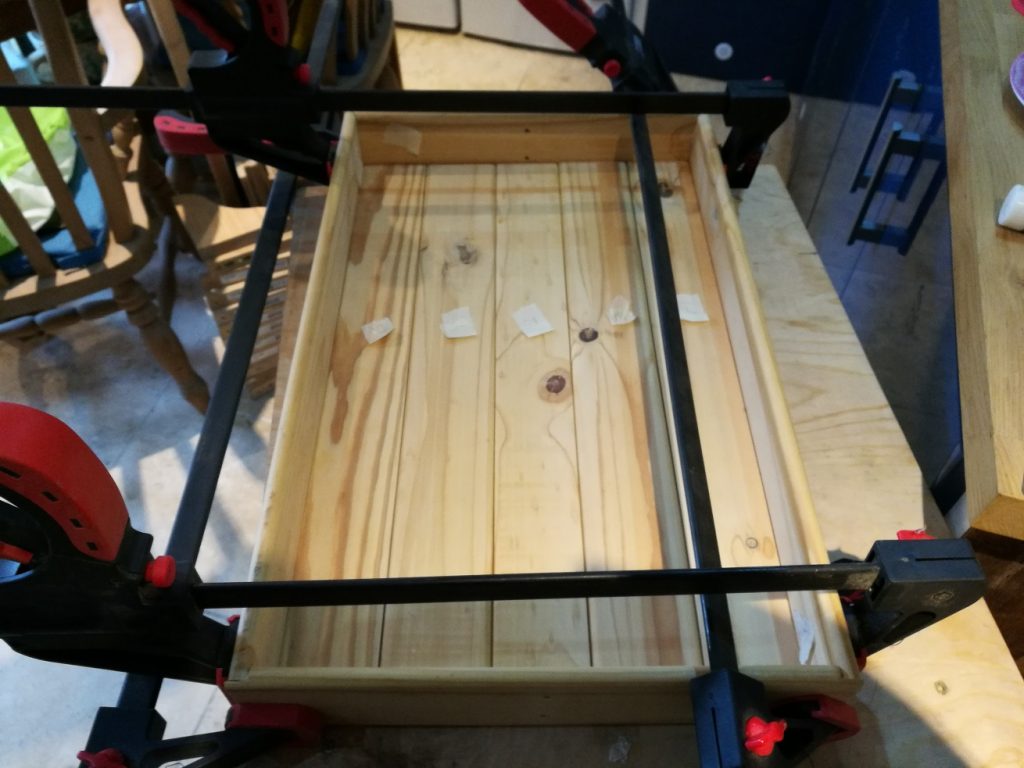
Next came a massive sanding session. Each piece was worked on with 120, 180 and finally 240 grit sandpapers until its was as smooth as glass. Once that was complete it was time for glue up. I did a dry run to make sure everything went smoothly before gluing all the joints, assembling everything and clamping:
The following morning the glue had dried so it was time to release the clamps and see how everything had set. I tidied up the corners where the ends of each side met before moving on.
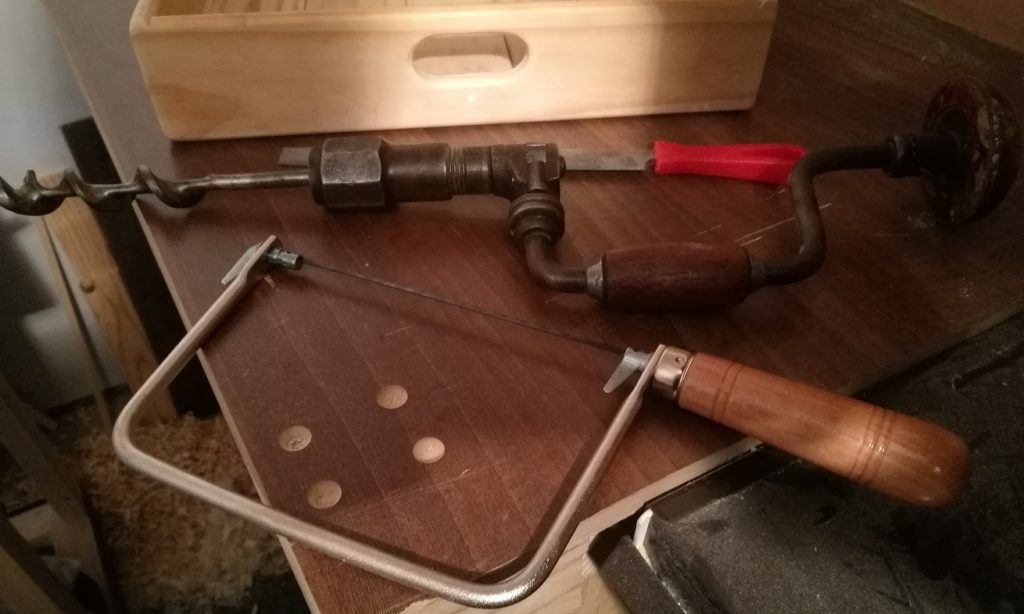
Next job was to put handles on each end. I did this by drilling a large hole at each end with a bit a brace and joining the holes with a coping saw. Final shaping and smoothing was done with a series of rasps and files before sandpapering the holes smooth.
I decided to add a profile around the inside where the base meets the sides. This neatened up the joints and will help to prevent any debris sticking in the corners:
The final job was the finish. I used several coats of Danish oil as this is heat and water resistant, but most importantly is food safe. This is what the final result looks like:
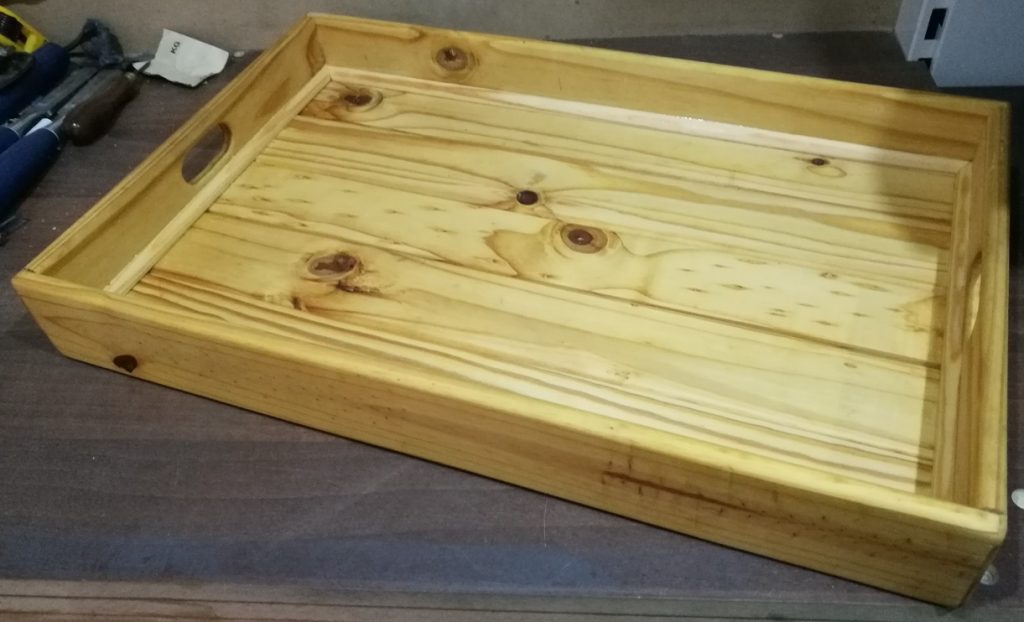
Using only hand tools and using simply glue with no mechanical fixings we now have a serving tray that will last for generations.
And the best part? My wife loved it!